Starting with MyOwnConference is your gateway to hosting engaging and professional webinars. We offer a user-friendly interface, allowing you to easily set up and run live sessions, automated webinars, and video conferences. Whether you’re looking to conduct educational courses, business meetings, or global conferences, we provide all the tools you need to create an impactful virtual event experience. With features like real-time polling, interactive chats, and extensive customization options, you’re well-equipped to deliver content that resonates with your audience and achieves your communication goals. Today, let’s dive into MyOwnConference and transform how you connect and interact with participants worldwide.
Content guide
Registration to hold a webinar
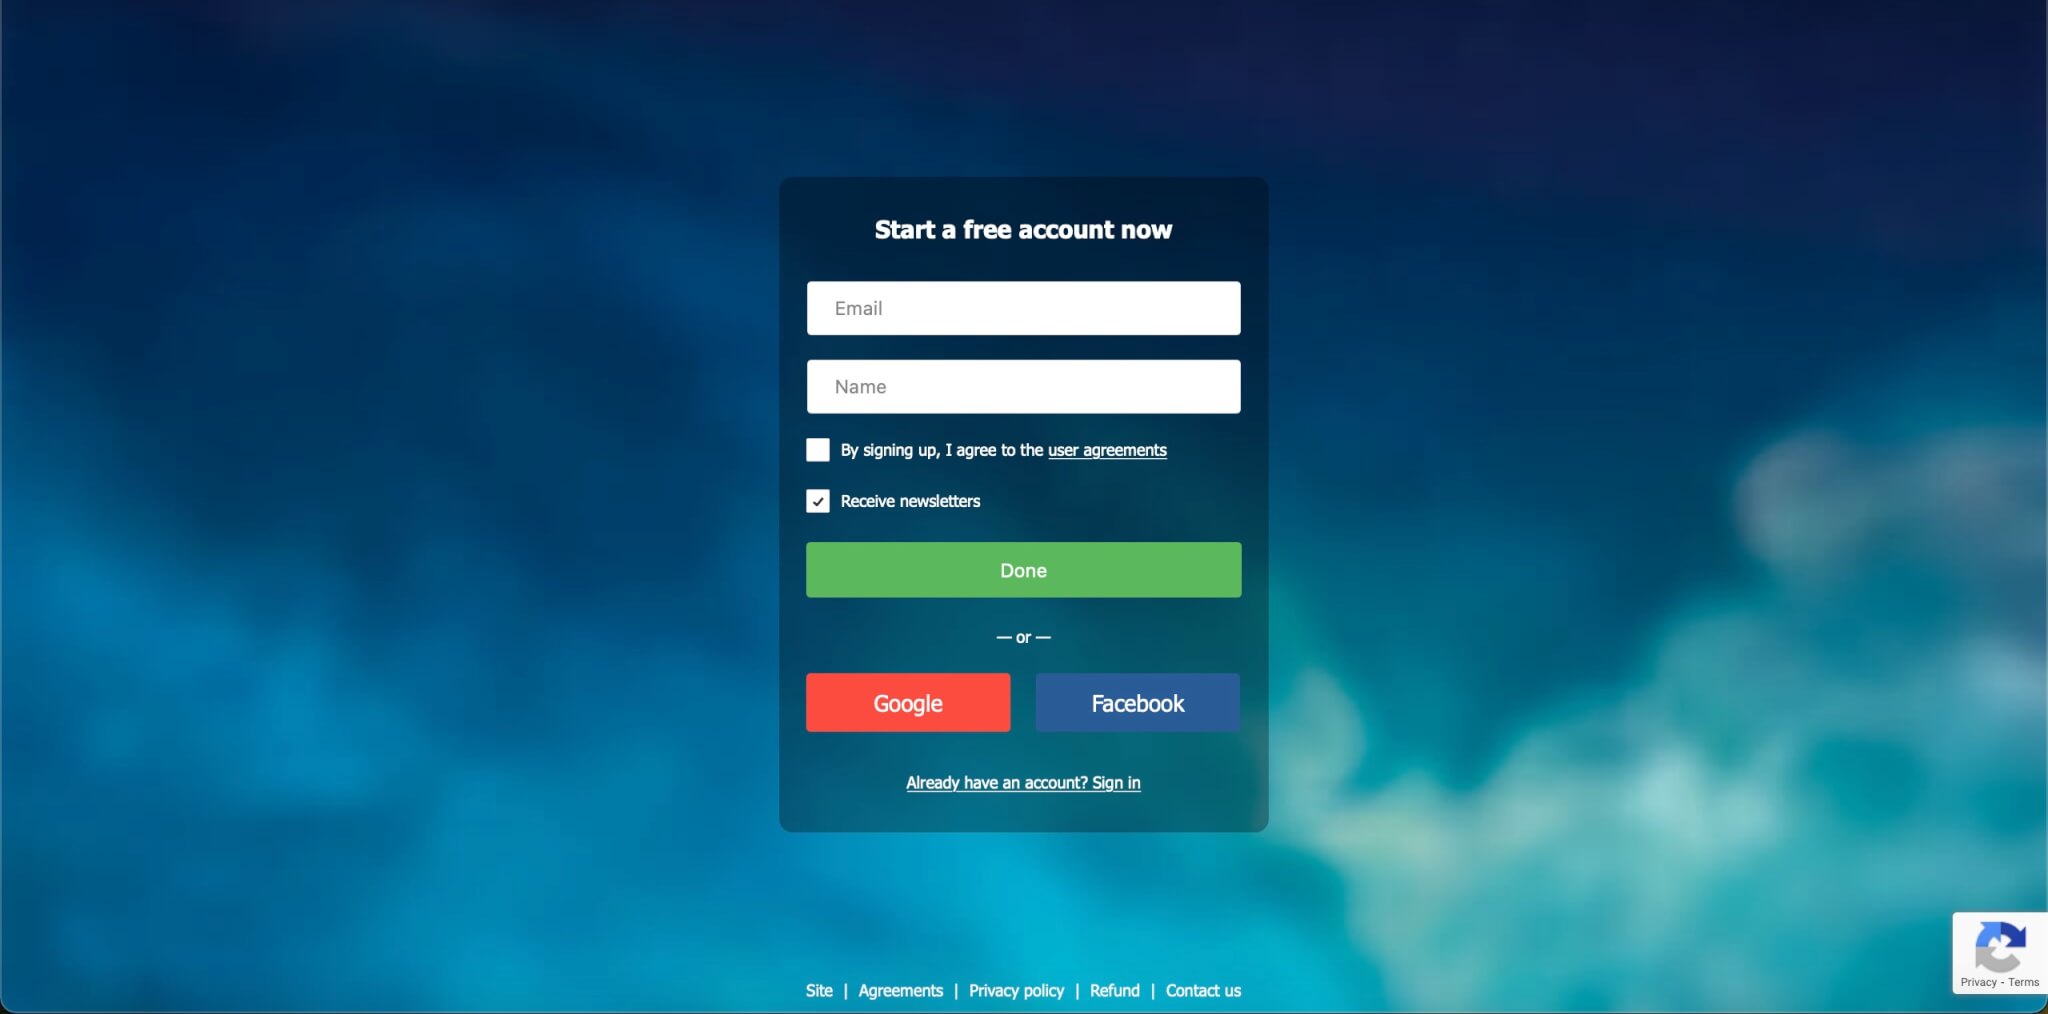
To start working with MyOwnConference webinar platform, you need to create a trial account. To create a trial account, click on «Host a meeting.» There are two registration options: 1) register with your name and email; 2) register with your Facebook or Google account.
First steps in your control panel
Firstly, we advise you to change the password. Go to the Profile section and press the «Change Your Password» button. Put your new password two times and save it.
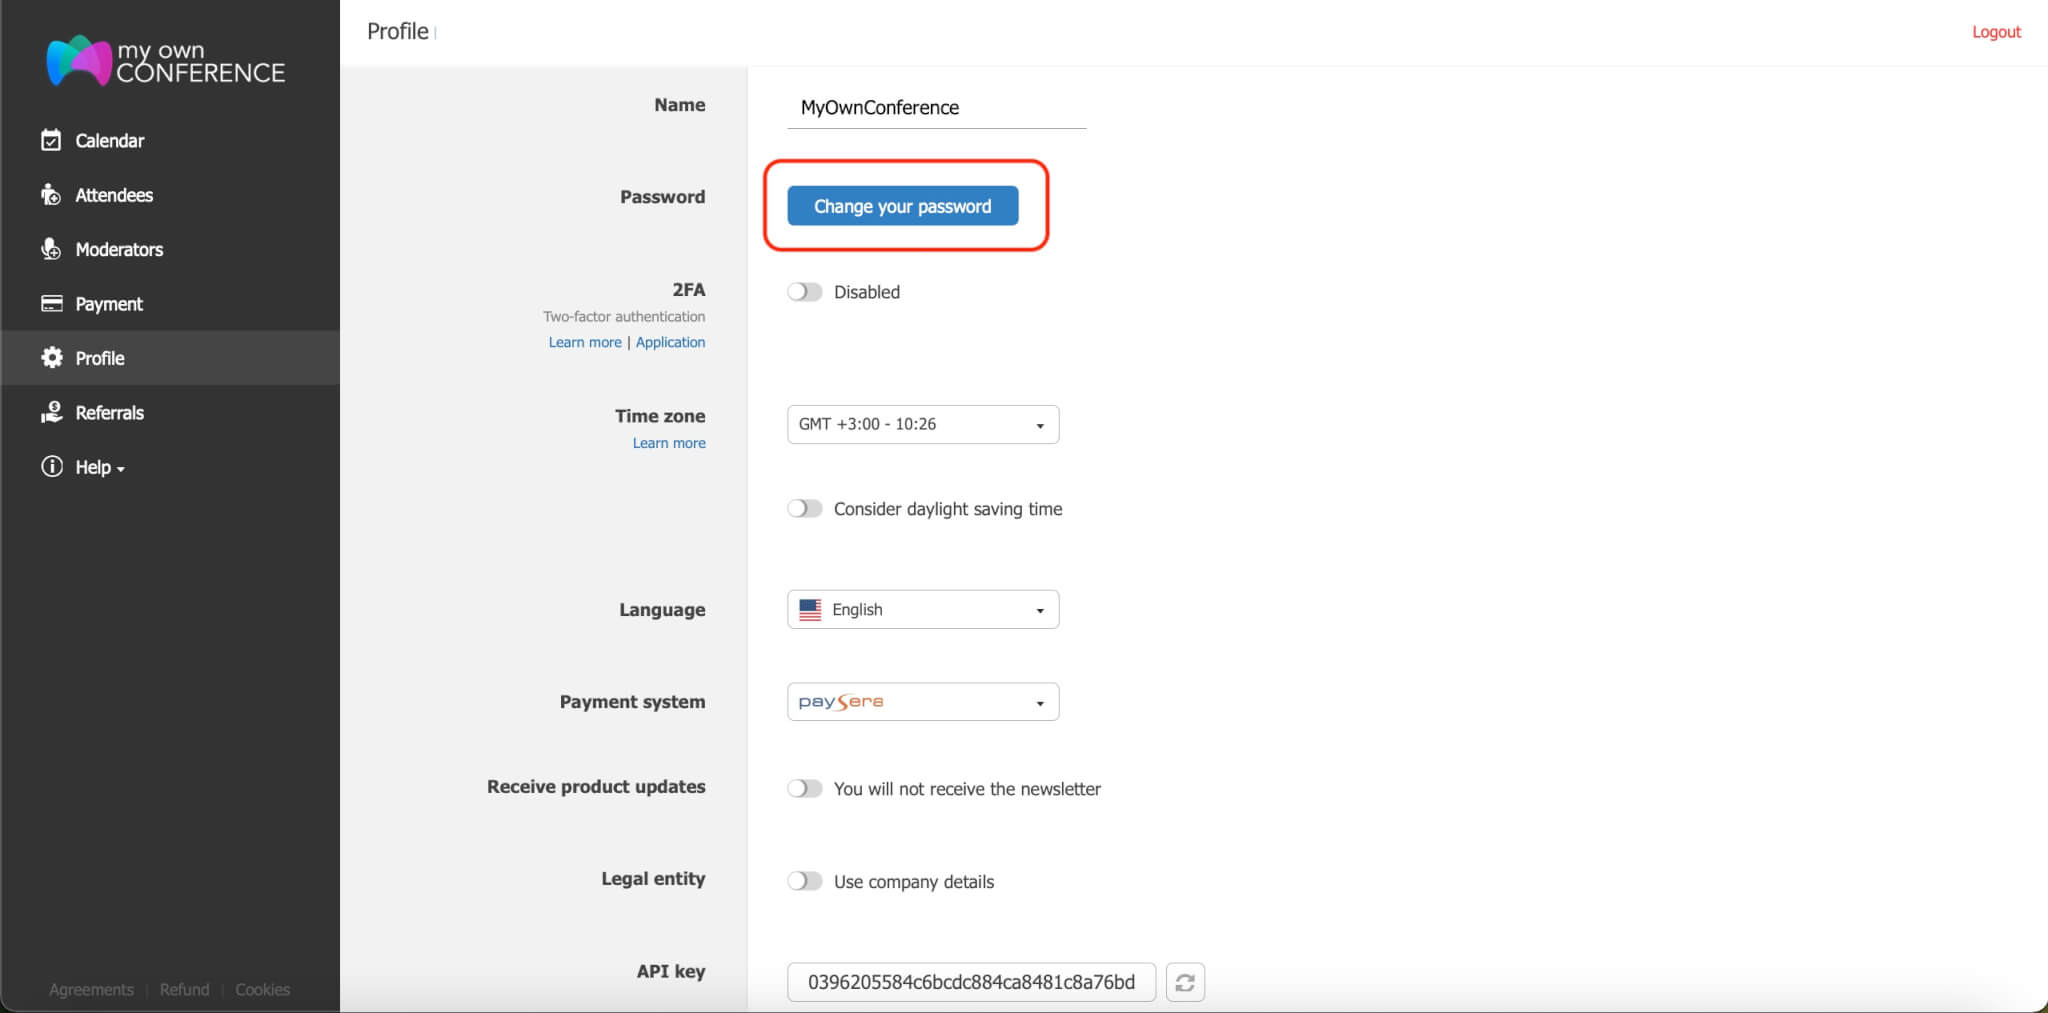
In the same section, you can adjust the language of your control panel. Currently, the available languages are English, Spanish, French, Ukrainian, Polish, and Russian.

In the «Profile» section, be sure to set the correct time zone. Mailing campaigns and webinar start times depend on this setting.

Choose the preferred payment system.

Here, you can also put the details of the legal entity further to receive proper payment documents for your financial department.

After registration, you will receive an email with a link to your webinar control panel. You may also sign in to the control panel via this link: cp.mywebinar.com.
How to Enter a Webinar Room
Once you enter the webinar control panel, you may skip the planning phase and hold your event immediately. Just click on «Open» to go to the existing webinar room.

Some settings can be adjusted in a webinar room: you may upload files, create polls, copy links to invite participants, change presenter settings, etc.
How to Create and Schedule a Webinar
Click on the «Schedule a webinar» button to plan your event.

Here you may also review your schedule and plan the next webinars.

Pressing on the Schedule a webinar menu item will open a window for planning your future webinar. Here you can name your event, write a description, choose a time, date, and duration, and invite presenters and attendees.
Note: Duration is the approximate duration of your webinar, and you use it only for scheduling purposes. The meeting will not end after this length of time.

You may also select «Additional settings» for a webinar. Open the Visual tab to change the style of the webinar room: the room and text colors, the webcam position, the logo, and the banner. You may also choose to display or hide the attendee list, chat, and buttons to «Ask a question» or «Ask to speak.»

Go to the «Recording» tab to adjust how your webinar room shows in the recording. You may choose to record only the webcam and microphone; webcam, microphone, and materials area; everything in the room or its specific elements, such as the attendees’ list, moderator name, and chat.

The «Login page» tab is where you can alter the webinar entry window. For instance, you may allow login with a social media profile. You may also choose to display the webinar date, title, description, moderator names, and the number of available seats.

In addition, you may choose to use analytics such as Google Analytics to obtain more information about participants and assess the effectiveness of webinar promotion.
Finally, with the «Emails» tab, you can set up a reminder system. By default, participants will receive four letters: 3 days before the webinar, one hour before the webinar, and one last email after the webinar has finished.

How to Add Attendees
You can add or invite attendees to the webinar in the «Attendees» section.
To add or invite attendees:
1. Click on «New attendee.»

2. Add their First name, Last name, and Email.

3. Indicate the «Attendees group» or choose «Without group» by default.
If you do not want to add attendees manually, you may import an existing list of attendees. Click on Import and either add CSV or XLSX files or copy and paste the attendees’ email addresses.

You can add both new and previous attendees to your webinar. To add previous attendees, you may use the following nifty filters:
1. Attendee status (active, inactive, banned).
Active – these members will receive email invitations and reminders from you.
Inactive — these attendees have unsubscribed and, thus, will not get any emails.
Banned — these attendees have been blocked during one of your webinars.
2. Attendees group.
3. Visited webinar/ didn’t visit.
You may also export, aka upload, a list of attendees to your computer.

You may also export, aka upload, a list of attendees to your computer.
1. Select attendees you want to export.
2. Choose data for export from the list (First name, Last name, Email, Phone, Skype, Country, Activation date).
3. Indicate the delimiter.
4. Choose the file type (CSV or Excel).

How to Add a Presenter or a Moderator
At MyOwnConference, we don’t distinguish between the roles of presenters and moderators. A moderator, just like a presenter, can go on air, record the broadcast, and monitor the chat.
To add or invite a moderator:
1. Click the button «A new moderator.»

2. Add First name, Last name, and Email.

You can have an unlimited number of moderators. However, a simultaneous broadcast is available for ten people at a time in a paid plan and for three people at a time in a trial plan.
Please note that every moderator takes one spot in a webinar room.
How to Add Documents for a Webinar
You can add documents for a webinar from a webinar room.

Click on Documents and choose one of the subsections: Keynotes, Video & Audio, Records, Polls, Tests, or Call to Action.

Additional Information
If you have not found an answer to your question, please take a look at our educational materials and video lessons.