Lighting for webinars has a direct influence on how a speaker is seen and on the overall visual quality of a webinar.
Lighting for Webinars
Even with a good microphone and a high quality camera, poor lighting can completely ruin the impression.
If the light source is placed incorrectly or the color temperature does not match the environment, the image may look unnatural. The face can appear too dark, glare from glasses may become distracting, and the color tone may be distorted. These small things reduce the level of trust and make it harder for viewers to focus on the content.
Good lighting makes the picture sharp, the face more expressive, and the eyes open and clear. It creates a feeling of real presence and helps the audience stay engaged. That is why light deserves just as much attention as choosing a webinar platform or designing your presentation slides.
In this article, you will learn how to choose the right type of lighting, which common mistakes to avoid, and which solutions work best depending on the type of webinar, from simple meetings to full training sessions.
Common lighting mistakes that ruin the image
One of the most common issues is a strong light behind the speaker. This makes the face look dark while the camera adjusts to the bright background. Another common mistake is when side lighting is used and one half of the face appears too bright while the other is left in shadow.
Ceiling lights are also widely used, especially in office settings. They create sharp shadows under the eyes and make facial features look unnatural. The same problem happens when narrow focused lights are used without a diffuser.
It is also best to avoid using multiple light sources that have different color temperatures. For instance, a warm desk lamp and cold daylight from a window will create strange transitions in color on the skin and background.
These problems often appear when a webinar is prepared in a rush. But a few quick changes can make the picture much better.
Types of lighting and when to use them
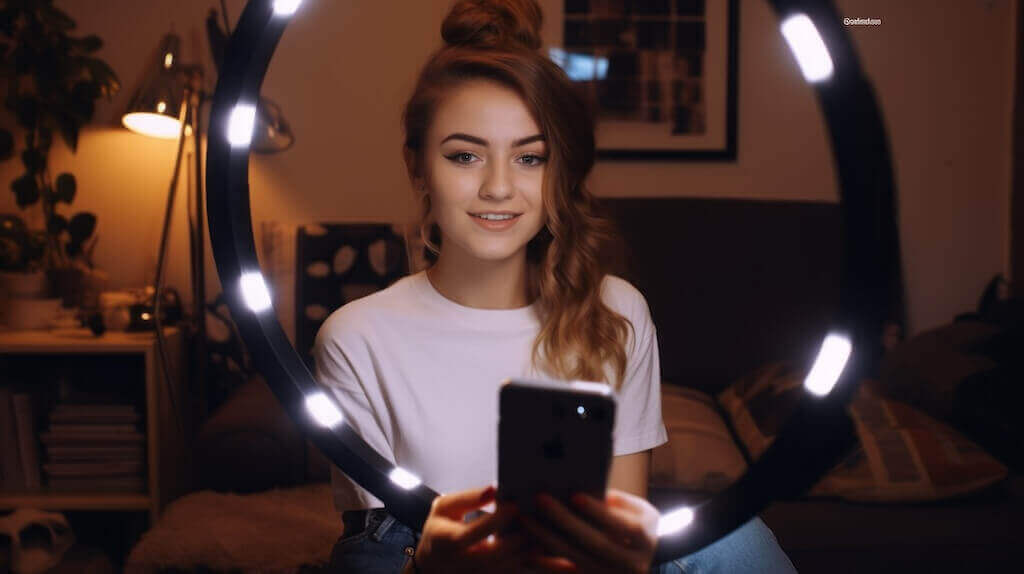
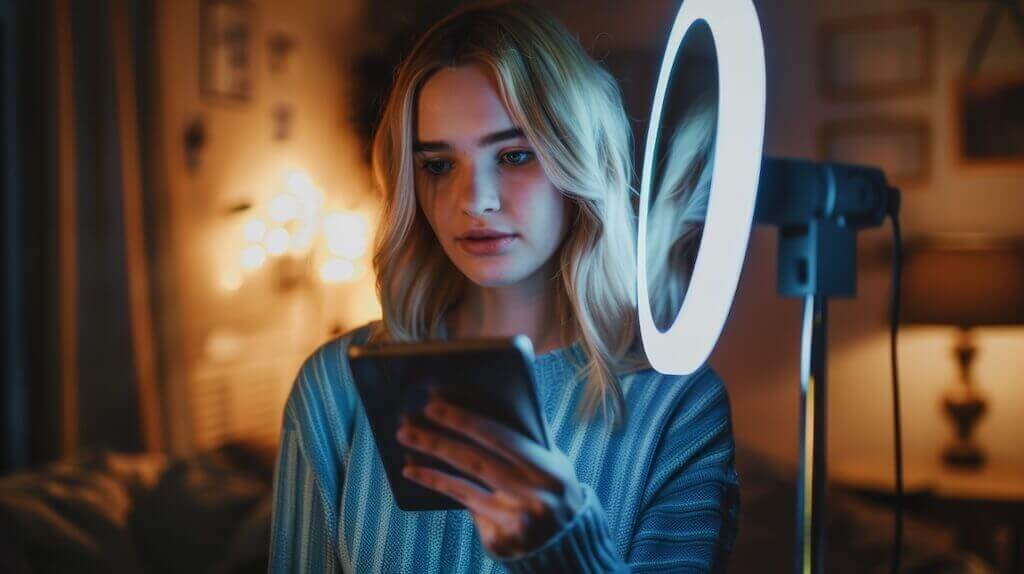
Ring lights
Ring lights help to evenly light the entire face. They remove strong shadows and make the skin look smooth on screen. This is the best choice for solo webinars where the speaker is the center of attention.
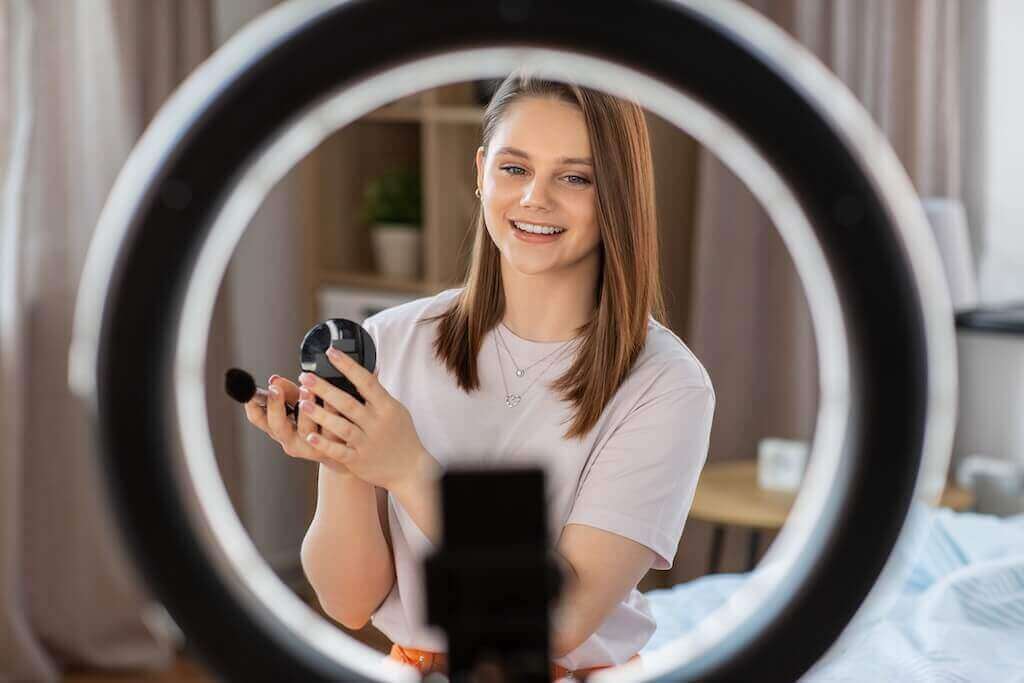
The lamp should be placed just behind the camera so that the light follows the direction of your gaze. Choose a model with adjustable brightness and adjustable color temperature.
Soft side lights
If there are two people in the frame or you want to make the image look more dynamic, use soft light placed at a forty five degree angle. This adds depth, gives natural shadows, and highlights facial features. It is often used during interviews or in studio conditions.
The best choice is a soft light with a diffuser or a flat LED panel combined with a soft cover.
Background lights
Lighting the background is not always required, but it helps to visually separate the speaker from the wall behind and adds more depth to the scene. This works especially well if the background is flat or plain. You can use a small LED light with a changeable color temperature or a basic RGB light source.
These lights are placed outside of the visible area, behind or slightly to the side of the speaker. It could be a small decorative lamp or a simple LED strip installed on the wall.
Lighting based on your webinar format
Live webinars with the camera on
During a live broadcast where there is direct contact with the audience, lighting must support focus and help guide attention toward the speaker. The main light should be soft and come from the front. A ring light or LED panel positioned at face level works best.
It is also a good idea to add a small amount of light to the background, especially if the speaker is sitting in front of a flat colored wall. This makes the scene look deeper and avoids the typical “passport photo” effect.
Recording educational videos
For recorded webinars or course materials, lighting must be stable and consistent so it can be repeated. A two light system is ideal, a main light in front and a second light at an angle to shape the face.
Lighting for webinars must not depend on the time of day. That is why it is best to block natural light completely and rely only on artificial lighting. This way, every recording will look the same no matter the weather or time.
Interviews or guest presentations
In formats with multiple people, everyone should be lit equally. It is best to use one separate light for each person, placed at an angle. This prevents differences in brightness and keeps the scene balanced.
If the conversation happens in the same room, use lights that have the same brightness and color tone. Also consider adding light behind the guests to help them stand out from the background.
How to build your lighting setup
Basic setup with two or three light sources
In most cases, three light sources are enough. You need a main light in front, a fill light from the side or opposite direction, and a background light. This setup creates natural depth, defines facial features, and helps separate the speaker from the background. If your budget is tight, you can start with one good light and add more later.
Experience shows that even two simple lamps, positioned properly, can work better than an expensive light placed incorrectly. For example, one of our clients used a soft-box lamp in front and a cheap USB lamp with warm light behind, and the result looked vibrant and pleasant.
Important tip
Never direct the light straight into your eyes. It is better if the lamp is slightly elevated and angled downward. This reduces glare and makes the light softer.
How to adjust lighting manually
Before going live or recording, it is useful to test how the light falls on your face. Open your camera and try different positions for your lights. Move them around, change their height, and test different angles. Sometimes turning a lamp just a little can eliminate unwanted shadows or glare on glasses.
Pay attention to the background. If it is too bright, your camera may dim the entire image, making your face look dark. You want the front light to be stronger than the background, but without creating too much contrast.
If you use natural light, remember that it is not consistent. Even a passing cloud can change your lighting in webinars completely. To keep your video stable, combine natural and artificial light. This way, you are not dependent on the weather.
Other factors that affect on-camera appearance
Even with good lighting, the picture may still look off. The problem could be the wall color, screen reflections, or the clothes you wear. White or yellow walls can reflect light onto your face and make it look pale or uneven.
If your screen shows a white slide or table, it also acts as a light source and can distort the image. Try lowering screen brightness or adding a fill light nearby to balance the exposure.
One more small detail. Your clothes matter too. Black fabric absorbs light, while white can reflect too much. Choose calm matte tones that do not reflect and keep the focus on your face.
How to choose and buy the right lighting
What matters most when choosing a light
Pay attention to two key things. The color rendering index, marked as CRI, and the color temperature. A CRI of 90 or higher means your face will look natural on camera. Color temperature affects how the video feels. Warm light around 3000K gives a cozy look, while cool light around 5500K feels more businesslike.
Your light should allow brightness adjustment and, ideally, temperature control too. This flexibility helps you adapt to different times of day and backgrounds. A light diffuser is a nice bonus. It softens the light and removes harsh shadows.
Also check how the light is powered. Some work from USB, others use batteries. Think about the size, mounting options, and how easy it is to place the light on your desk or laptop. Sometimes, a small model with a clip works better than a large but awkward lamp.
When to invest and when to save
If you are just starting out and unsure how often you will host webinars, you can start with a minimal kit. A basic ring light or LED panel in the 20 to 30 dollar range is usually good enough. The main thing is to position it correctly.
But if webinars are part of your job, it makes sense to invest in reliable lighting for webinars. I switched from a cheap lamp to a three light kit with a front, side, and background source. The difference was clear in the recordings. The image had more depth, my face looked livelier, and skin tones appeared more natural.
Another tip. A high price does not always mean better quality. Sometimes a branded lamp for 150 dollars is not much better than a budget model for 50, as long as both have high CRI, adjustments, and a diffuser.
What to consider if you travel often
If you run webinars or film outside of your home, go for lightweight and versatile solutions. I use a small LED panel with a built-in-battery and a tripod or laptop mount. It fits into a backpack and works for hours on a full charge.
A flexible USB lamp can also be handy. You can plug it into a power bank and use it when there is no outlet. Make sure it does not shine into your eyes and that it has at least basic brightness settings.
For mobile setups, collapsible softboxes or suction cup lamps are great. They are easy to assemble and can be used anywhere, from hotel rooms to meeting spaces. Just test everything ahead of time and rely on one trusted kit that works for you.
Key takeaways on lighting for webinars
Lighting is one of those technical factors that has a direct effect on how a speaker is perceived, how engaged the audience feels, and the overall impression of your webinar. Even with a limited budget, you can get a clean, consistent image by carefully choosing light placement, types of lights, and brightness balance.
Approach lighting with the same attention you give to content prep. A simple but well-configured setup can elevate your presentation, make your delivery more persuasive, and your presence more professional.
Use the tips from this guide as a foundation. Then test, tweak, and adapt based on your needs. There’s no universal solution but good lighting for webinars is always a big step toward a better on screen experience when you host a webinar.
FAQ about lighting for webinars
What kind of lighting for webinars is best?
Adjustable LED lights with a high Color Rendering Index (CRI 90+) are ideal. A ring light works great for solo presentations, while LED panels or softboxes are better for interviews or training videos.
What should I do if my face looks dark on camera even with lighting?
Check if the background is too bright, your camera may auto-adjust and dim your face. Try lowering background brightness or adding a fill light in front. You can also reposition or raise your main light.
Can I get by with just one light?
Yes, especially when you’re starting out. One soft front-facing light can make a big difference. Just avoid placing it behind or to the side. You can always add side or background lighting later.
What are the most common lighting mistakes?
There are four main ones: strong backlighting, no diffuser, mixing warm and cool tones, and using only overhead lights. All of these lead to unnatural skin tones, facial shadows, or poor color balance.