Many moderators and attendees of webinars often wonder how they can record their sessions.
Guide to Recording Webinars on Your Computer
No wonder they ask, because a recording can be shared with colleagues and with anyone who could not make the event itself. Plenty of organizers also use recordings in their marketing, since people can watch or study them whenever it suits.
Leading webinar software with integrated recording
For webinar presenters
MyOwnConference
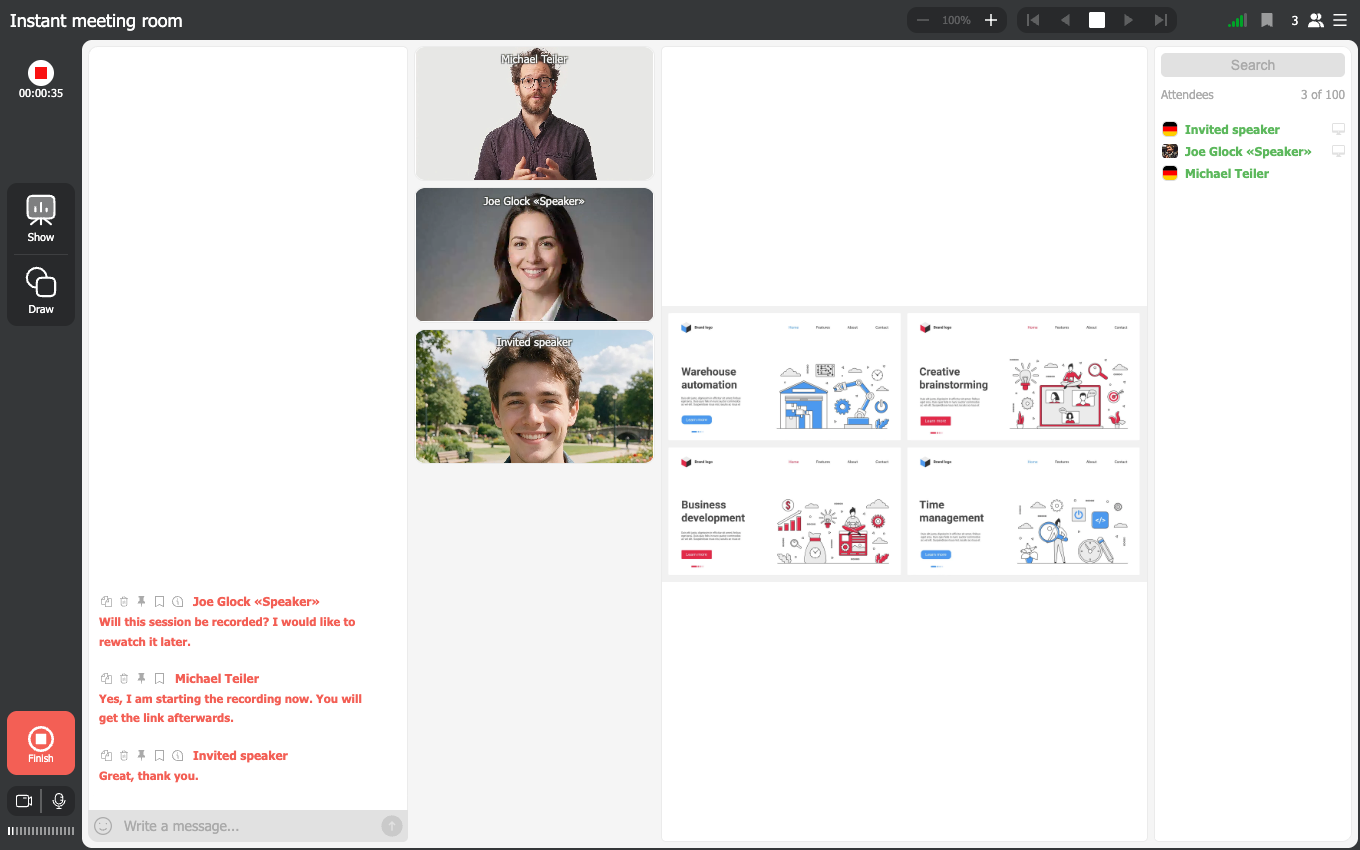
MyOwnConference is a webinar service with a webinar recording feature enabled. It will help you avoid downloading and installing additional specialized software on your desktop. Running the event and recording it in the same service is simply convenient. The built-in recorder captures the broadcast sound along with everything happening on screen and saves it as a video file.
Features of MyOwnConference:
- no additional software installation needed
- compatibility with any operating system and browsers
- uninterrupted recording of up to 10 hours
- recordings are available for watching online and downloading as MP4 files.
For recording your webinars, you can also use other webinar services that provide this feature.
For webinar attendees
Audacity
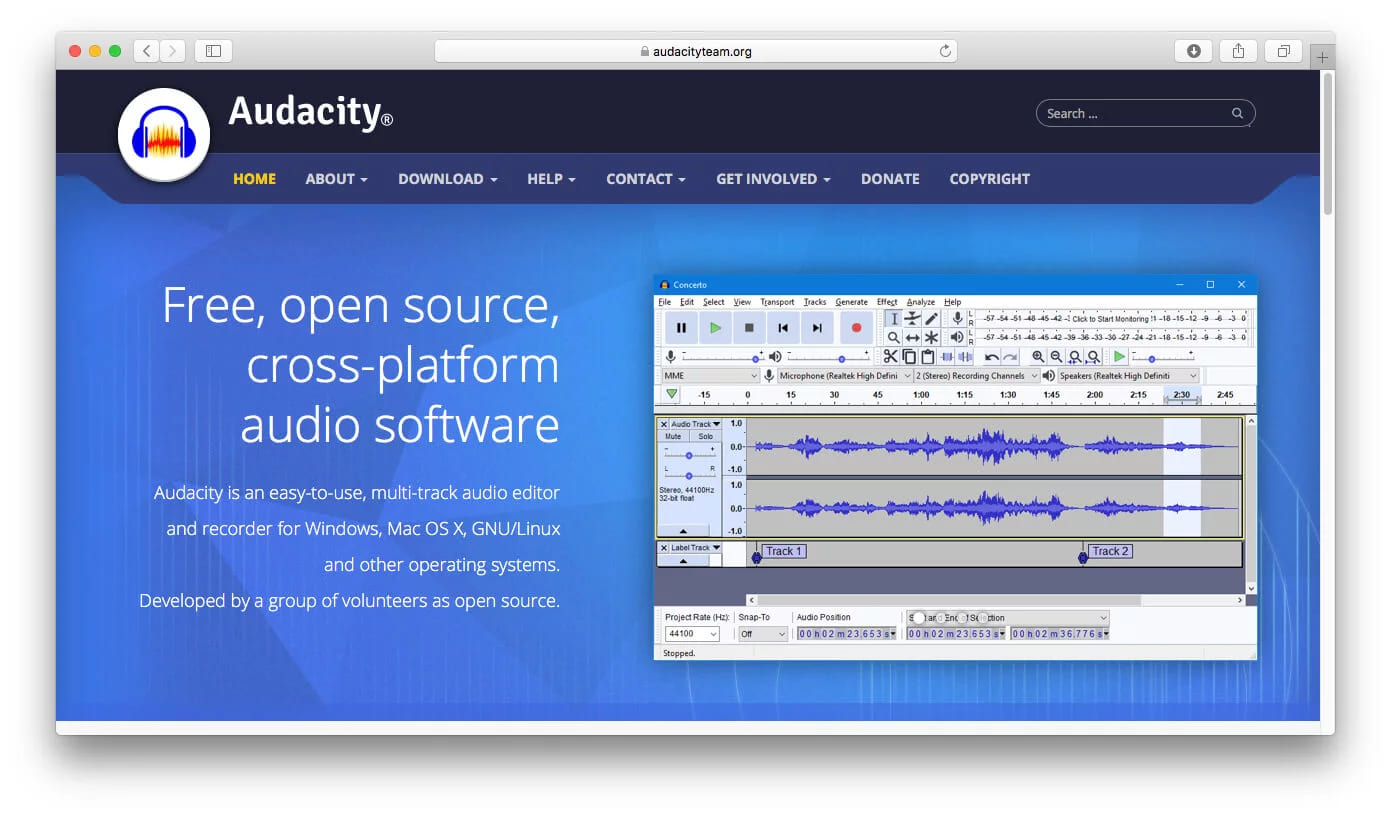
It records sound from a microphone or any other input device, and on Windows it can also capture what the computer itself is playing. Its simple editor lets you cut out anything you no longer need or add effects. It can save recorded files in numerous formats. Also, this software supports multiple languages and is cross-platform by nature.
Camtasia
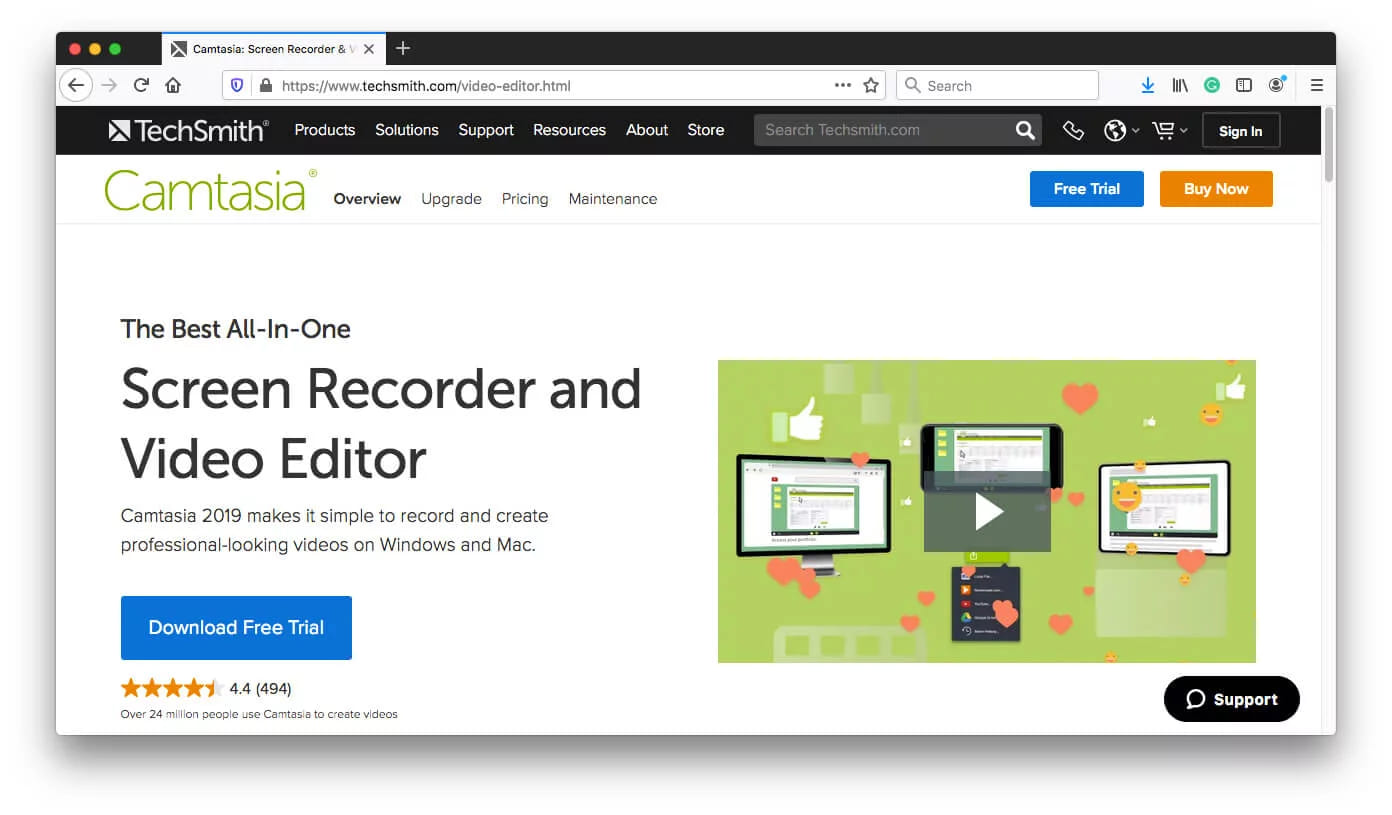
Software features:
- editing instruments offer possibilities to change video, e.g., by adding inscriptions, animations and effects
- a user can save the video in numerous formats
- a user can upload the recorded video to YouTube directly from Camtasia
- HD video support.
If you would rather not install anything, our free online screen recorder records a browser tab with its sound in Chrome and Edge, and the file stays on your computer.
How to record a webinar with MyOwnConference
Webinar recording using MyOwnConference is fairly simple. Below you will find the step-by-step guide on recording a webinar via webinar service. Where those recordings sit afterwards and what else you can do with them is covered by the webinar recording guide.
Step 1: Enter your webinar room
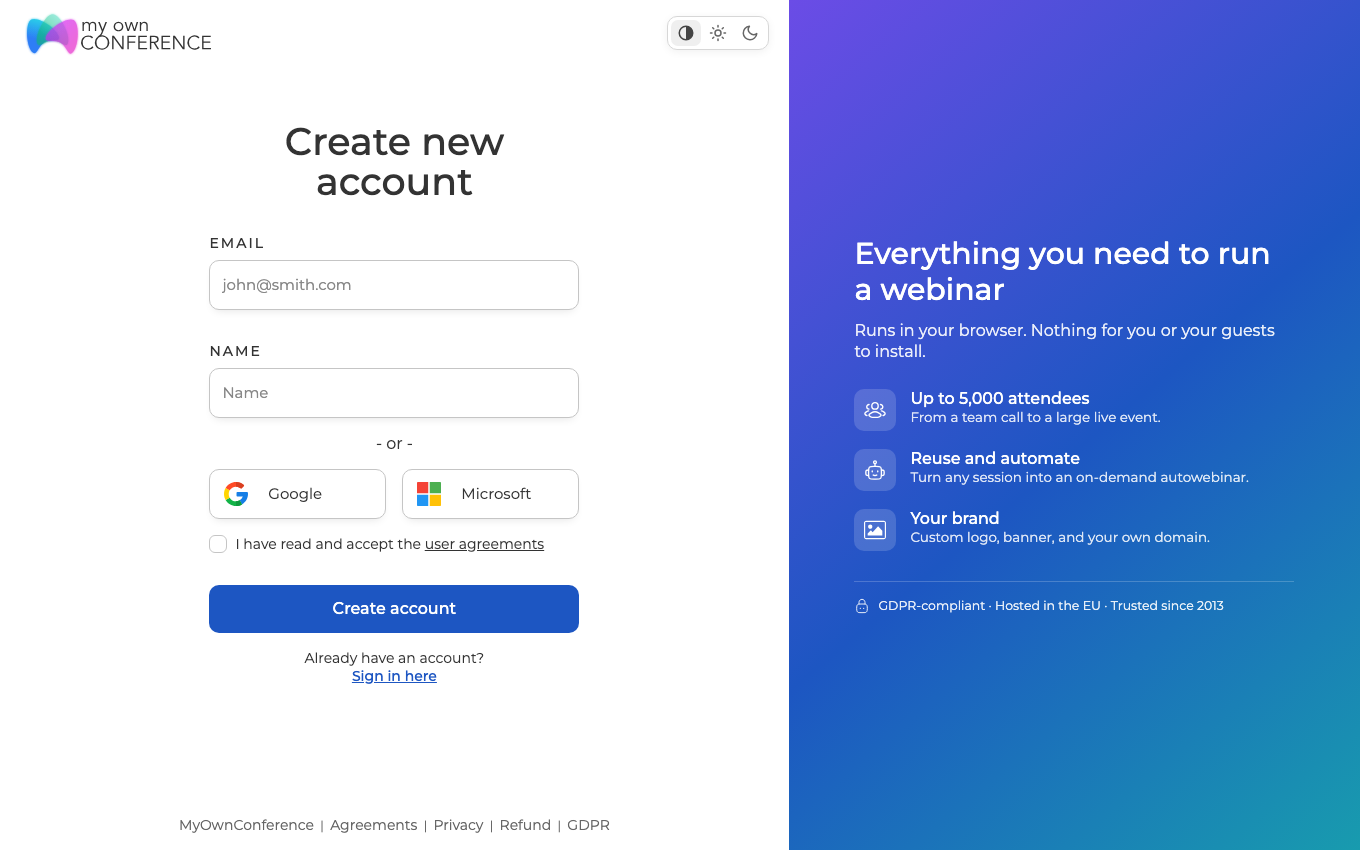
Webinar rooms are open only to registered users of the webinar software platform MyOwnConference, so create an account first if you do not have one.
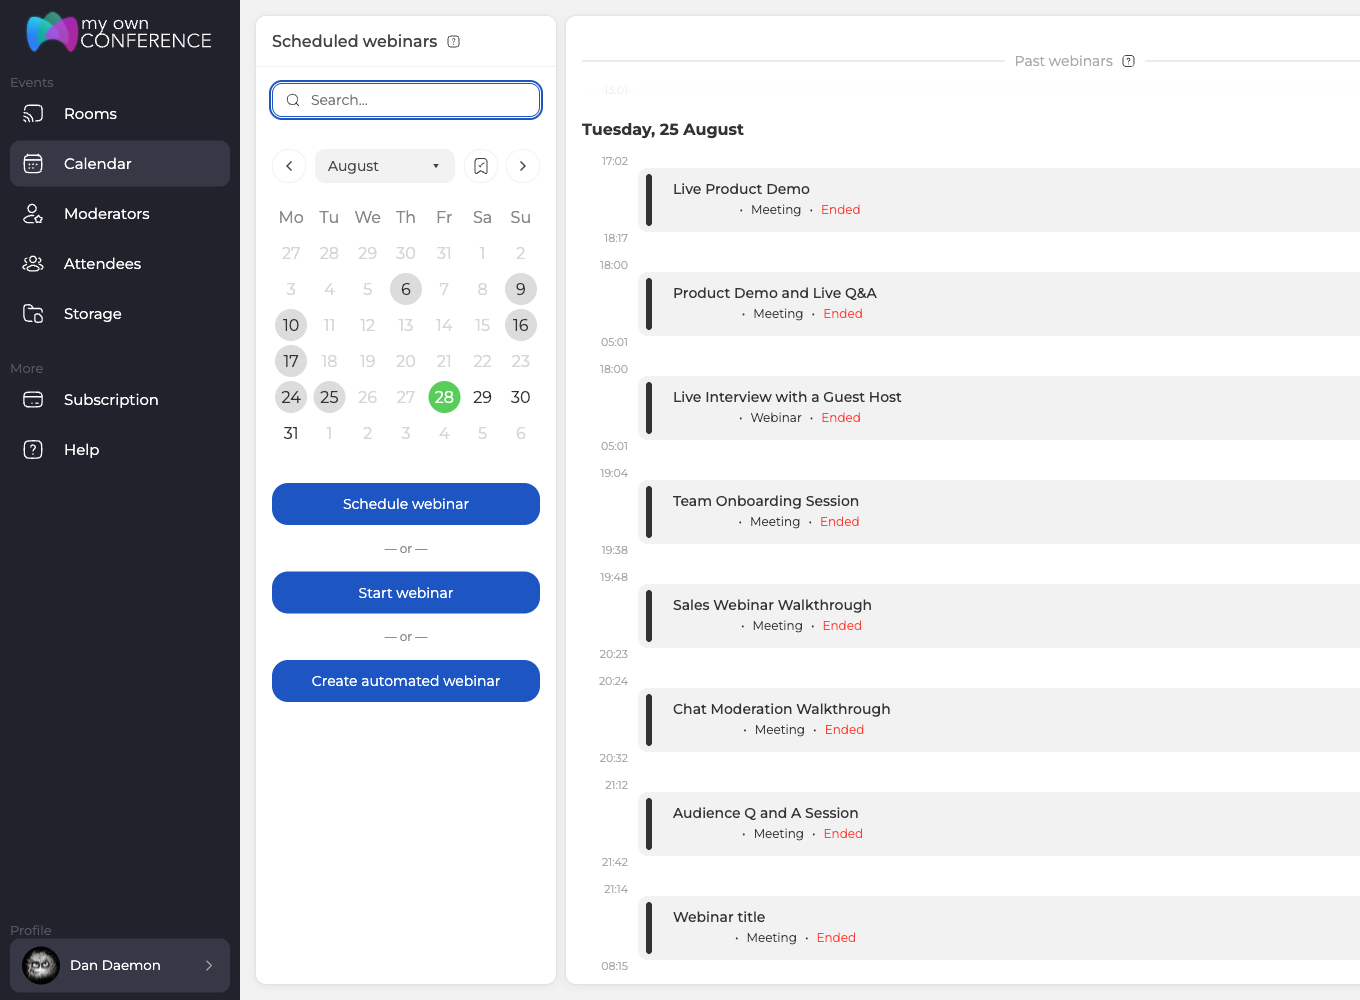
Then log in to your account and enter the webinar room.
Step 2: Record your webinar
Press the "Record" button at the top of the screen to start recording.
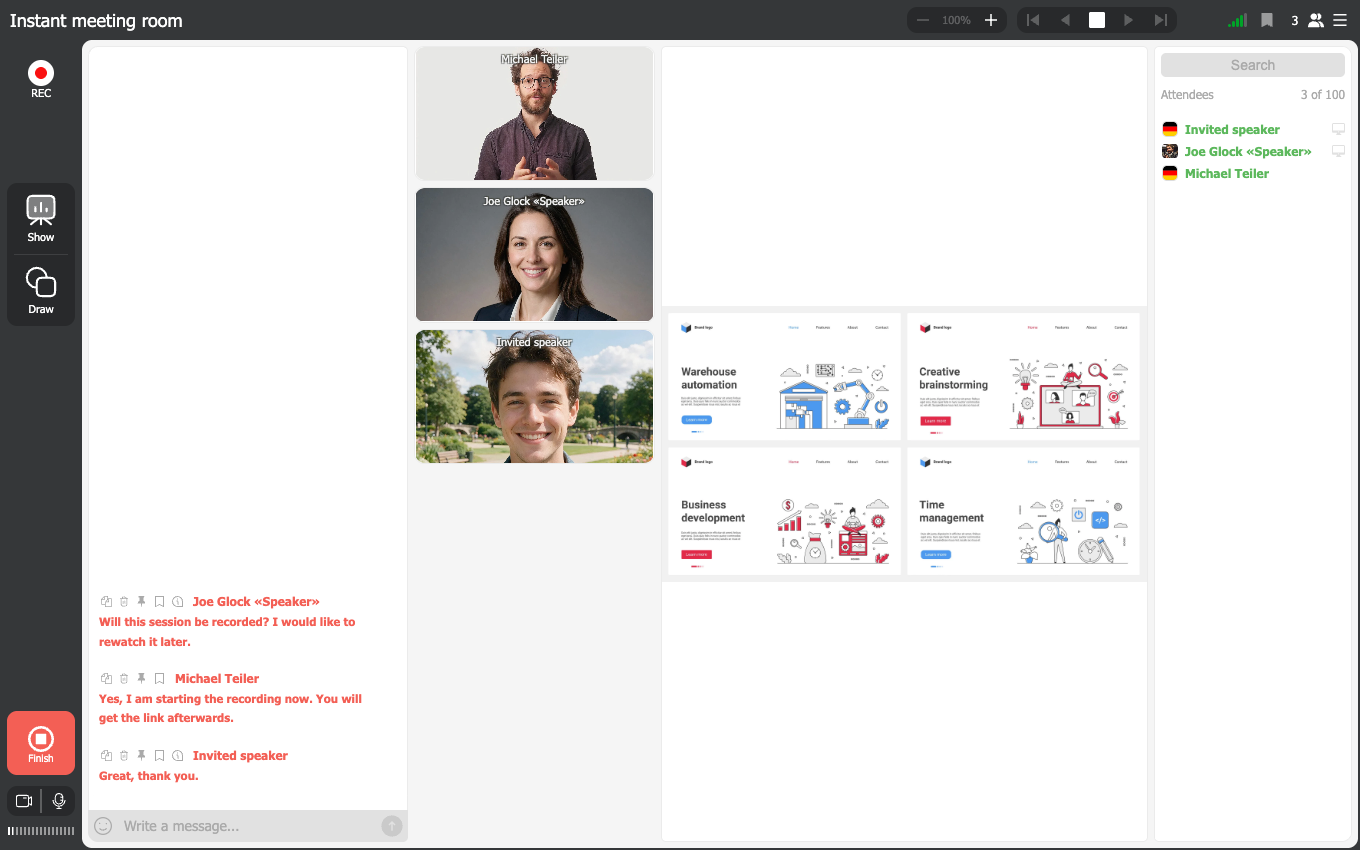
The button then shows you how long the recording has been running.
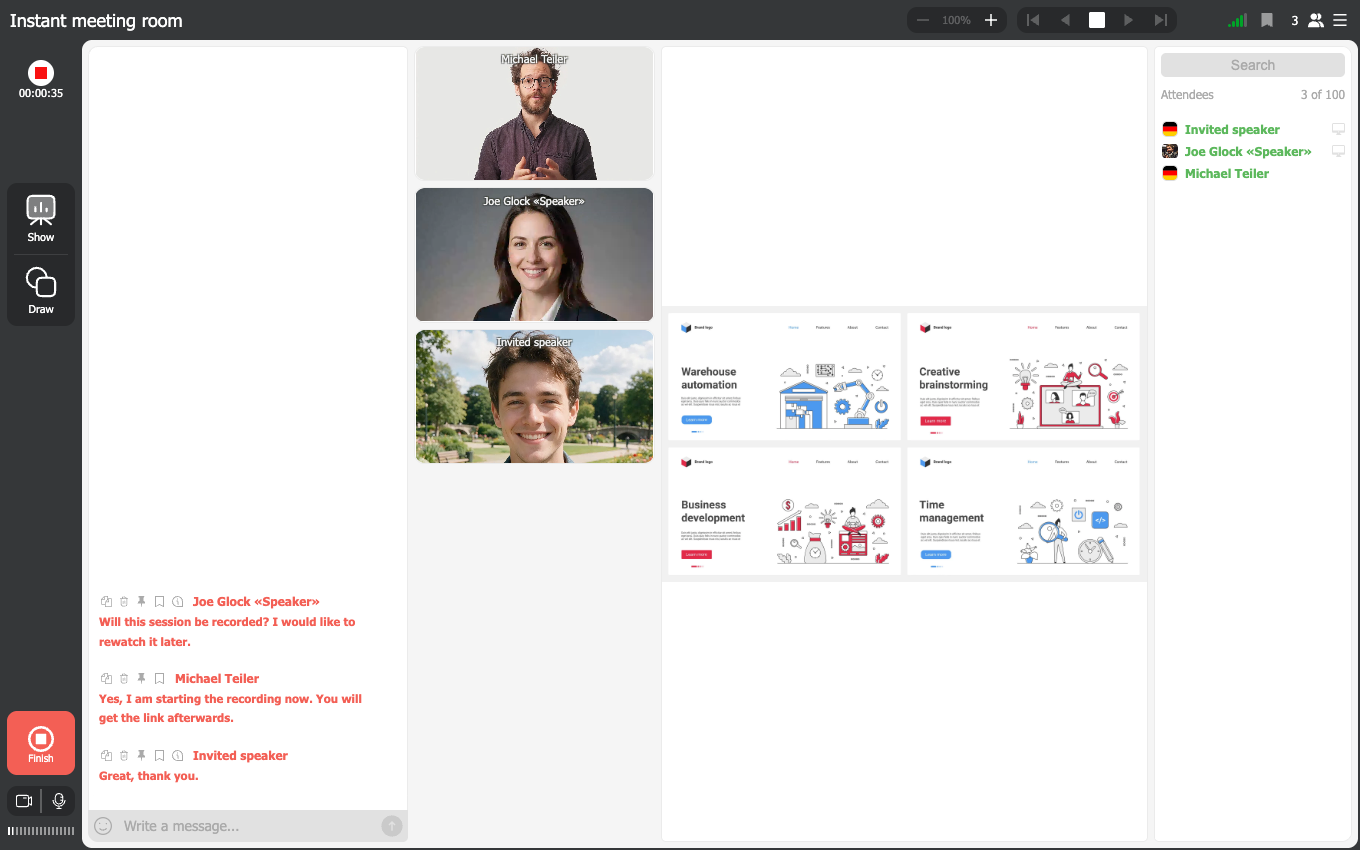
In case you would like to stop recording, press that button once again. In the pop-up window, please confirm your actions.
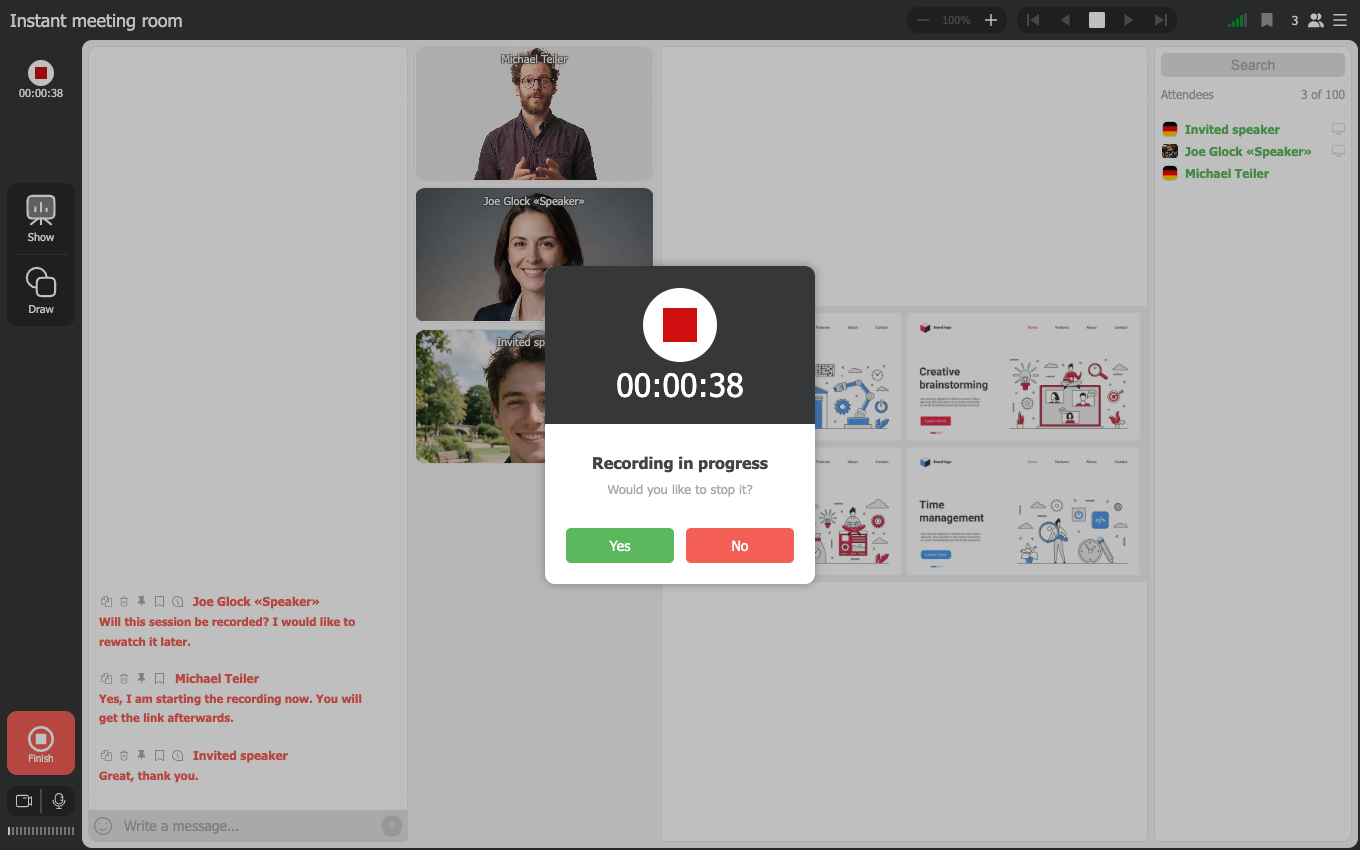
After you finish the webinar recording, the file is sent to conversion. The process is automated, and no interference from your side is requested. Conversion speed generally depends on the file size and the server’s current load.
Step 3: Download the recording to your computer
Further, after conversion, the video will become available for downloading from your dashboard.
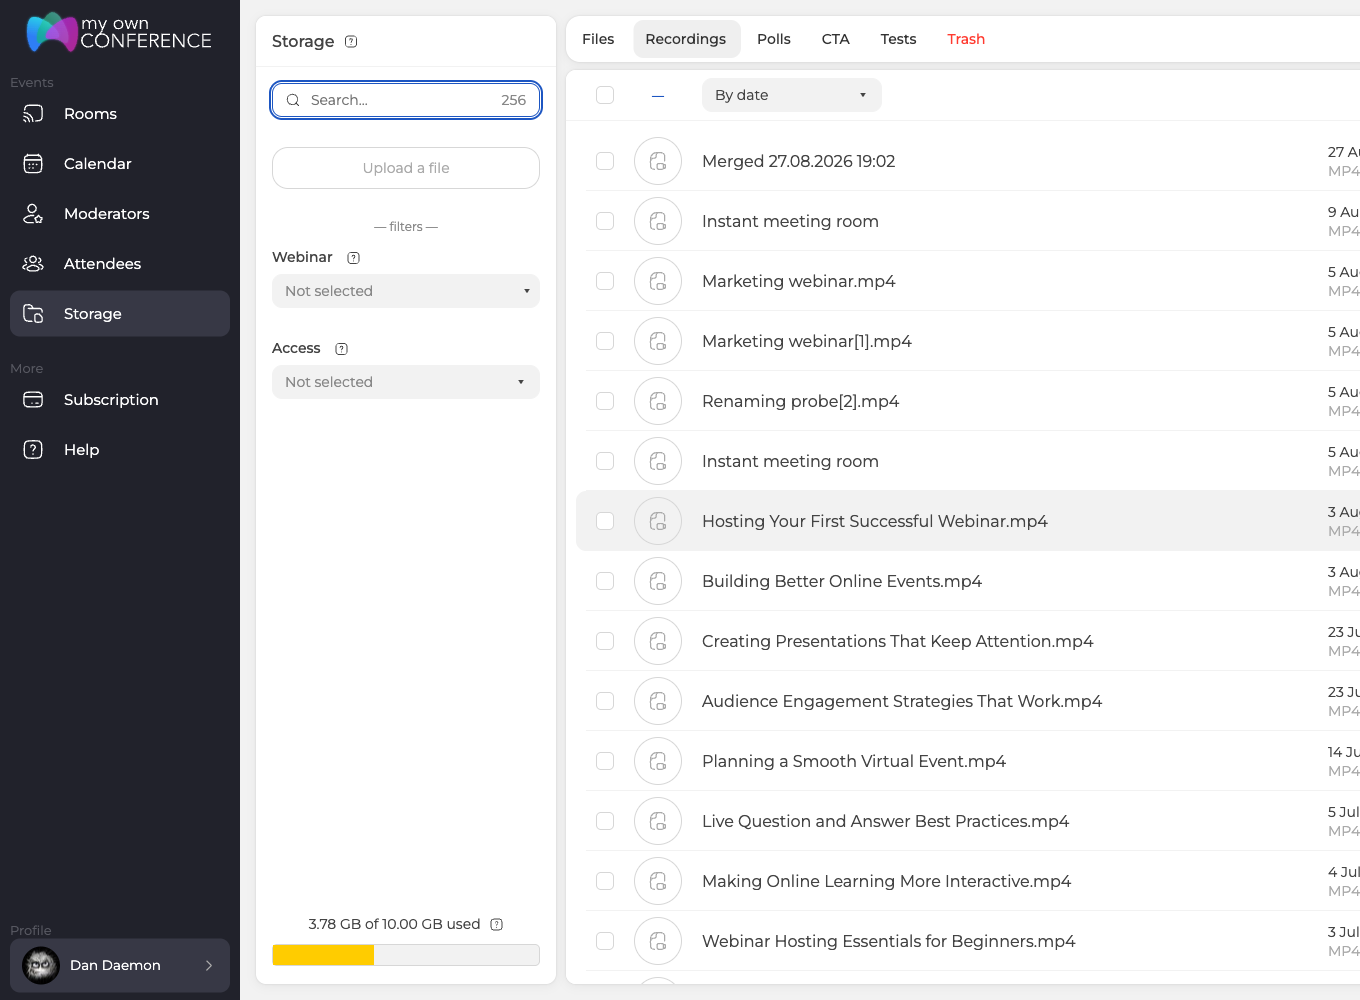
Moreover, the recorded event will be available for watching online.
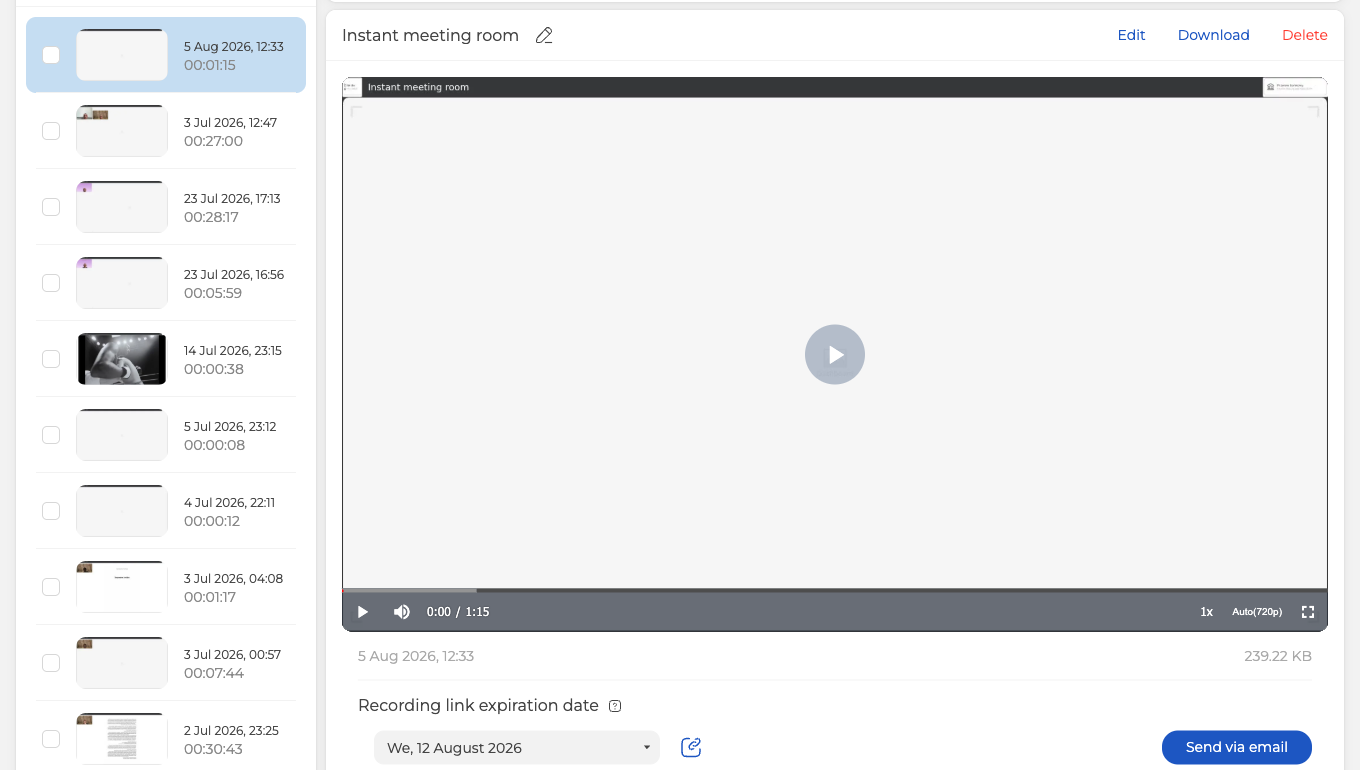
Also, you can share video recordings with attendees.
Summary of recording webinars
Recording with the platform’s own tools saves you installing anything and leaves you free to concentrate on the session itself. The file turns up shortly afterwards, ready to watch, download or edit before you send it on. Make that a habit and every webinar stops being a one-off hour and becomes something that keeps working for you afterwards.
FAQ
How can I start recording a webinar on MyOwnConference?
To start recording a webinar on MyOwnConference you first enter your webinar room, then click the "Record" button visible at the top of the screen, and afterward confirm when you want to stop.
What happens after I stop the recording in MyOwnConference?
After you stop the recording a pop-up window appears to confirm your action and then the recorded file is automatically sent to conversion, without requiring your intervention.
In what format can I download the recording and where can I find it?
You can download the recording in MP4 format from your dashboard after the conversion process is complete and the video is made available for download.
Do I need additional software to record a webinar using MyOwnConference?
No, you don’t need any additional software because the recording function is built into MyOwnConference and works with all operating systems and browsers.
What tools can I use to record webinars with audio or advanced editing?
You can use Audacity if you only need to record audio from microphone and do simple editing, or Camtasia if you want to record video, add captions, effects and then export in various formats.