
30 seconds. That’s roughly how long it takes to create an account on MyOwnConference and create your first webinar or live stream on the platform.
Go live in 30 seconds
Okay, it might take 40 seconds if you type with one finger. Or ten if you are a pro and want to write an article titled «Webinar in 10 Seconds.»
How about we take a little test drive and check the actual numbers? Let’s see just how realistic it is to organize a webinar in 30 seconds.
The first step to organizing a webinar in 30 seconds
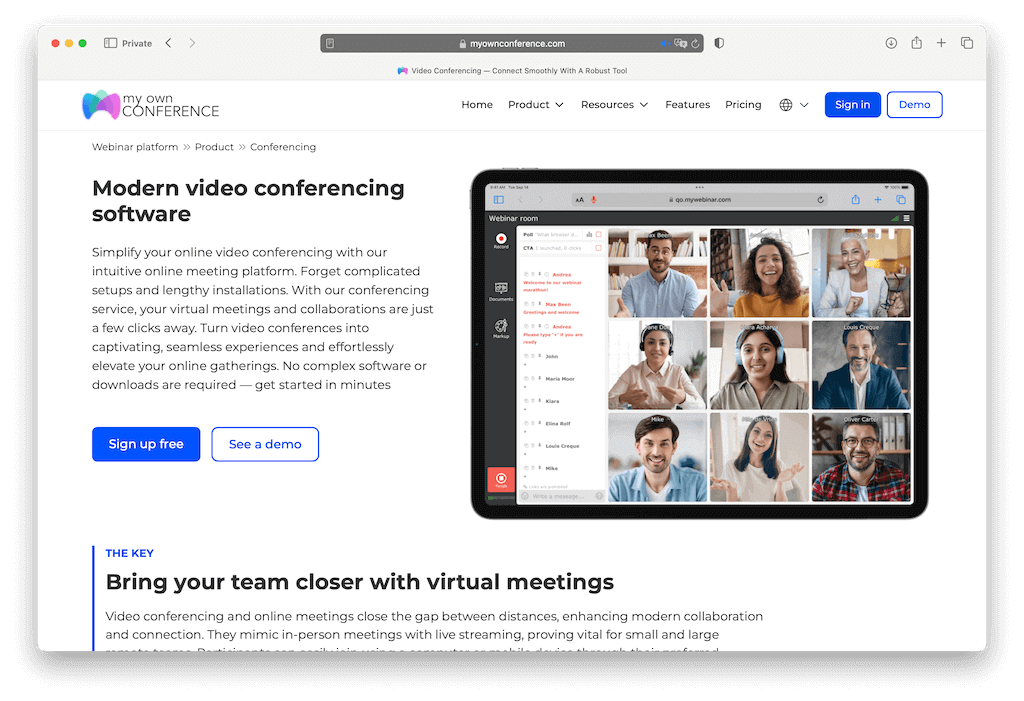
Go to the website of the webinar software platform MyOwnConference and click on the button «Register.»
Elapsed time: 4 seconds (unless the browser is slower than a herd of snails traveling through peanut butter).
The second step is the longest
You will be redirected to a quick registration window after clicking on the «Host a meeting» button.
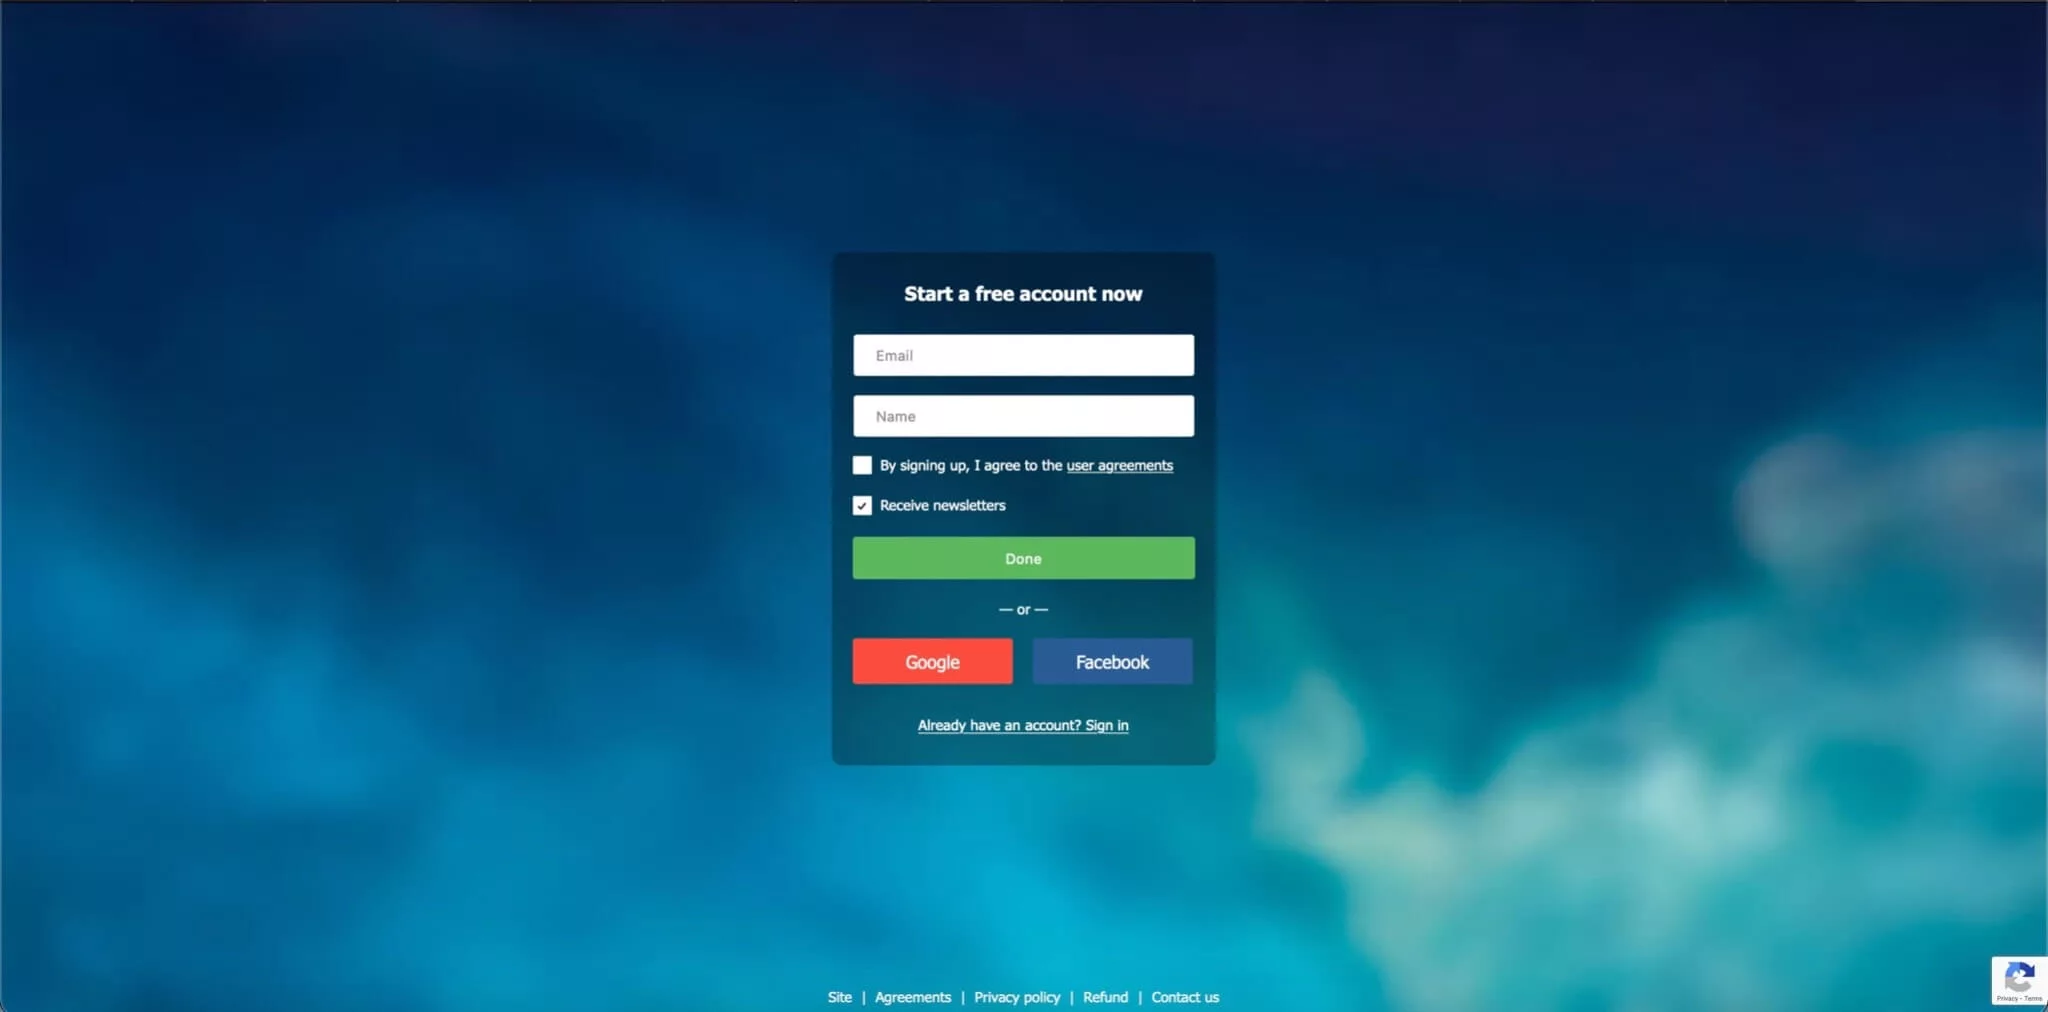
Enter your details: your email address and name.
Be sure to check the box that states, “By signing up, I agree to the user agreements.” We hope you actually read the agreements earlier. Otherwise, our little experiment may be considered a failure. For reference, the average time to read an agreement is 6 minutes. You definitely do not have that time now.
Next, click the “Done” button.
Elapsed time: 15 seconds.
Step three, you’re getting closer to the webinar room
Go to your mail, and there should be a letter from MyOwnConference with the subject “Registration for a free package.”

This letter contains your registration information. However, at this point, you should only be interested in the big blue button “Sign in to the dashboard.” Quickly click on it to get to the webinar platform.
Elapsed time: 6 seconds (you’re doing well).
Step four, it’s almost webinar time
You are now in your personal account, where you can manage participants, schedule meetings, and invite hosts. For example, suppose you’ve used a tool like «Invite Member» to create a community on Telegram. In that case, you can set up dedicated webinars for that particular audience and ensure high participation and interest levels. You can apply the same approach to other platforms where your business is present. In a nutshell, organize all your webinar business. But we will leave these tasks for later. For now, you should focus on the dots on the right-hand corner of the screen and click the “Open” button.
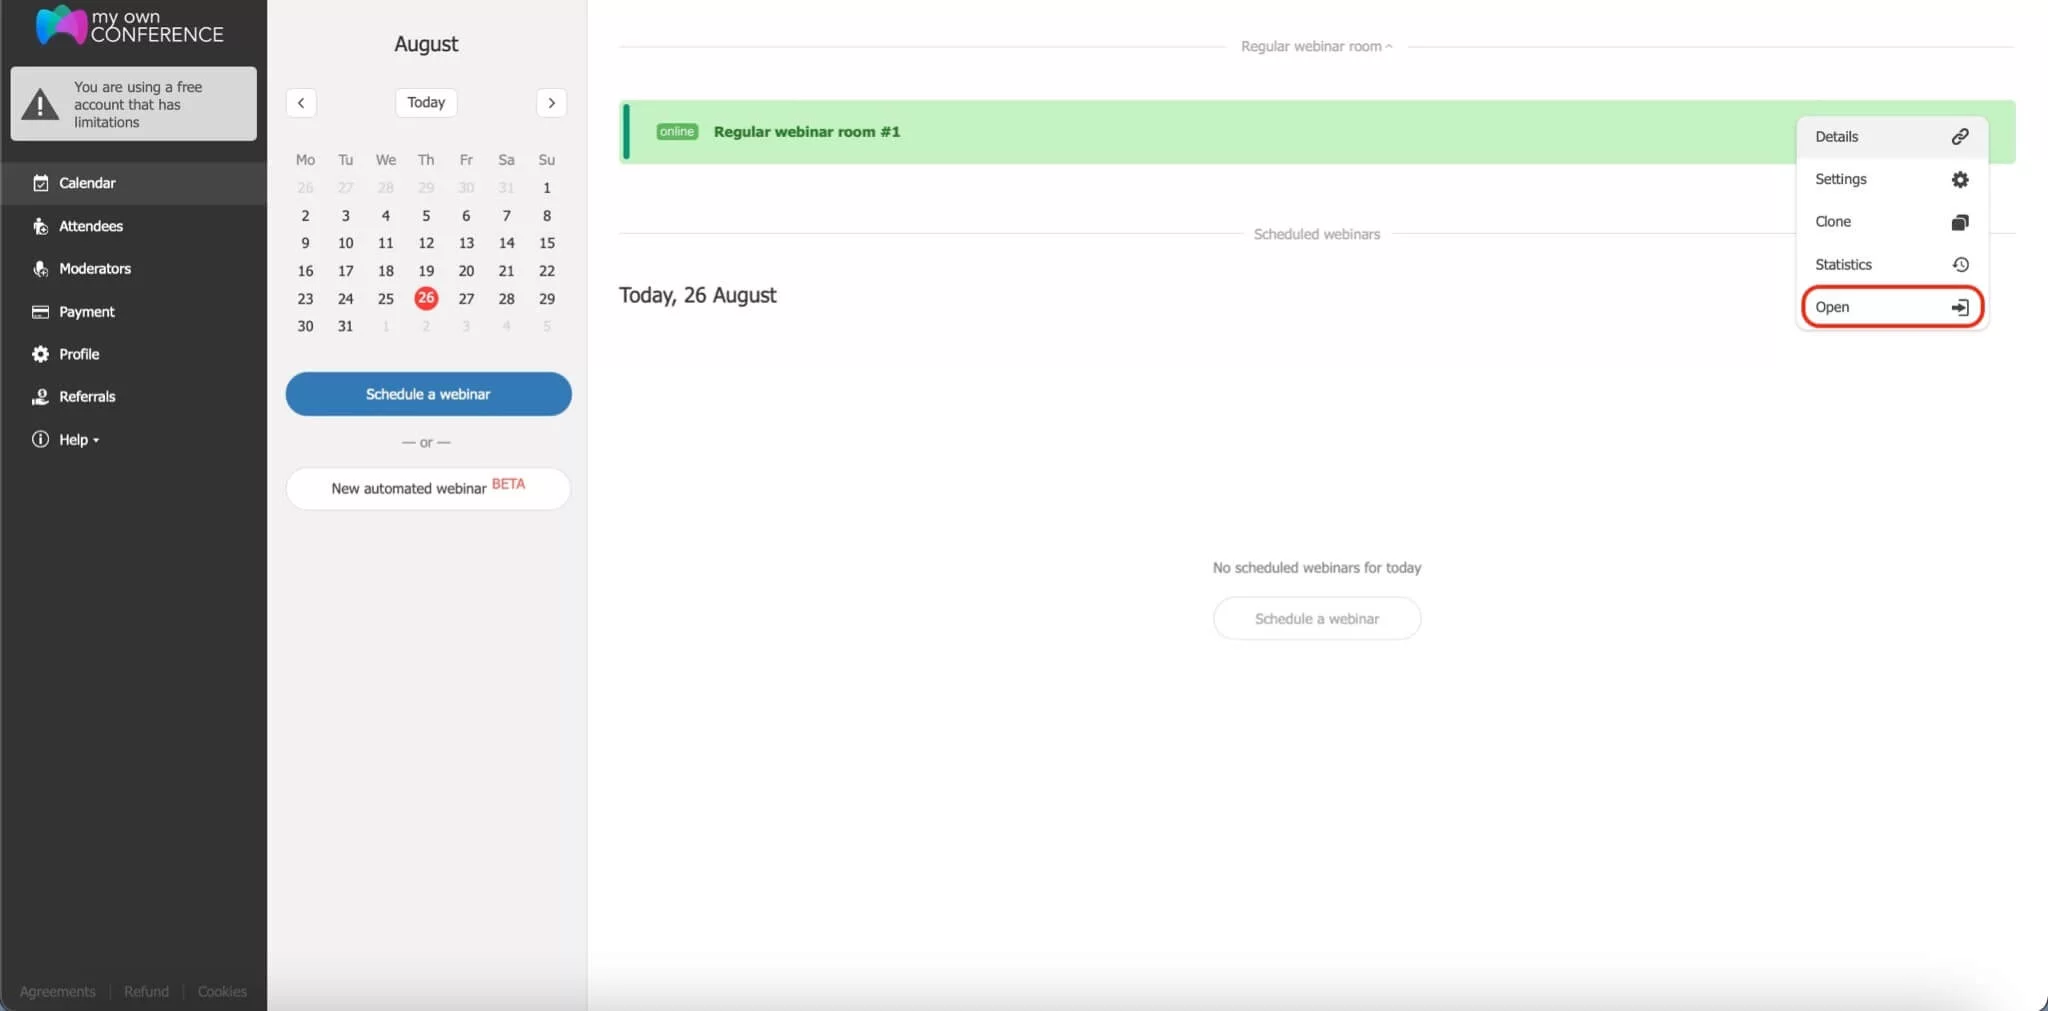
Elapsed time: 1 second (phew! Amazing, right?).
Step five, start broadcasting in 30 seconds
Boom! You’re officially in the webinar room. All that’s left is to click on the “Speak” button and allow the browser to use the camera and microphone.
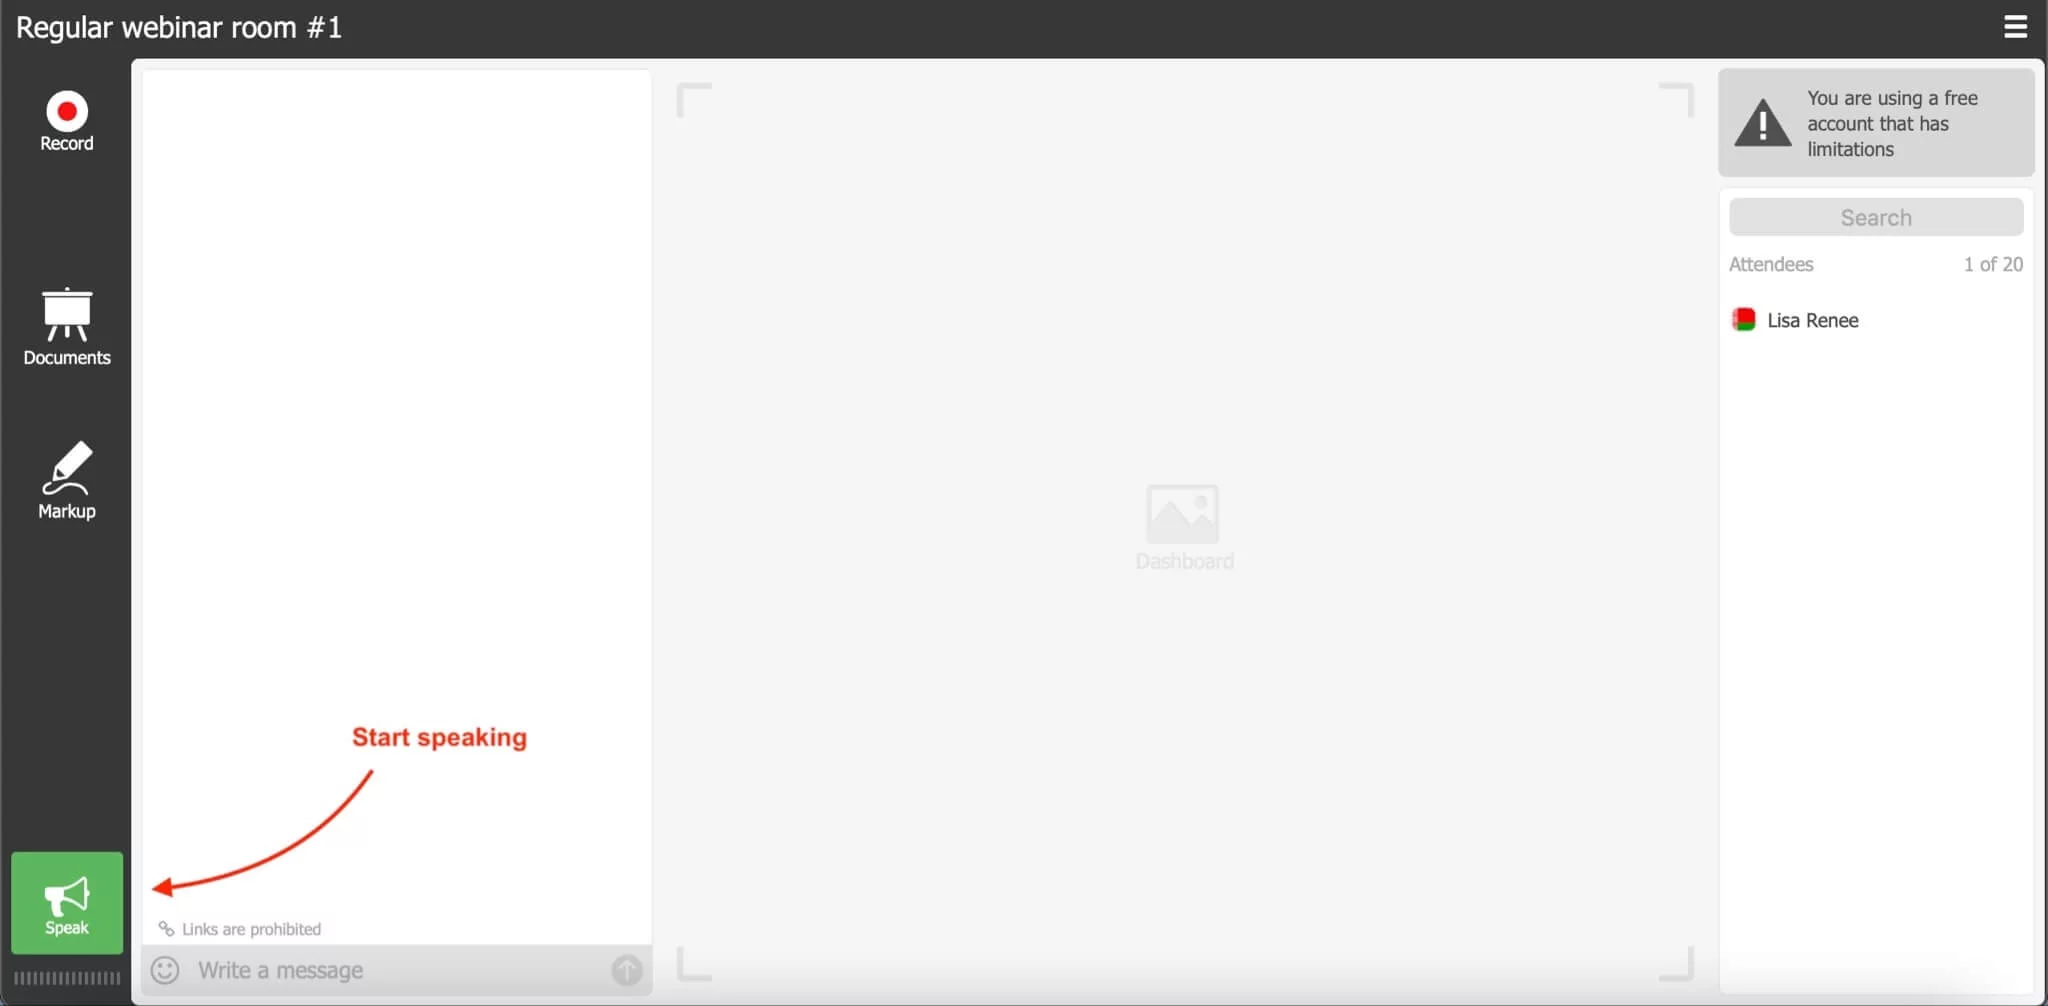
Here’s how to do it in Chrome. Also, we wrote about other browsers in our article about devices.
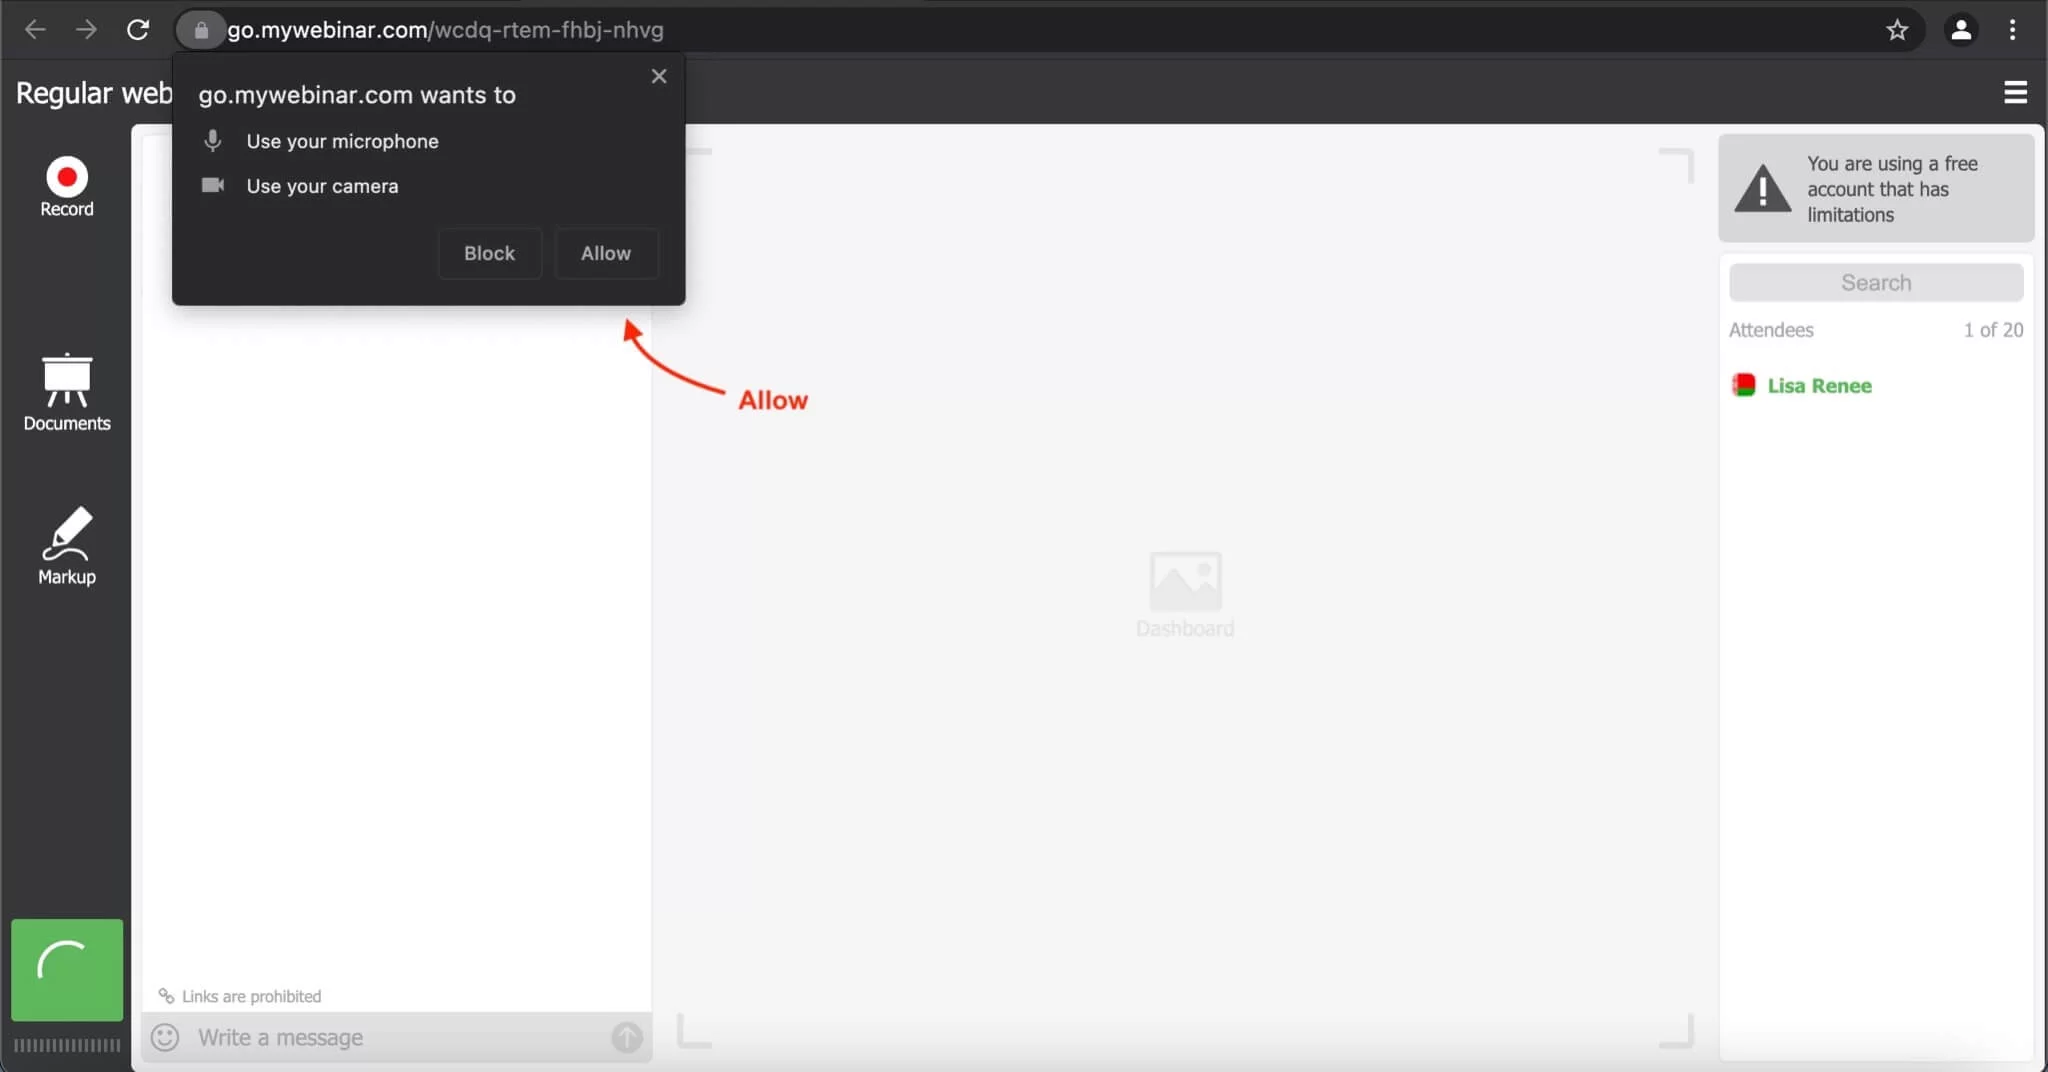
Elapsed time: 2 seconds.
That’s it, you’re live on air. As you can see, it all took just a moment and was done in about thirty seconds.
Step six, now, where are the webinar participants?
You have turned on your camera, got your microphone ready, and perhaps taken two deep breaths, but in order to call this broadcast a webinar, you need to invite participants.
Again, no hassle. To invite participants to the webinar, just copy the link in the address bar and share it in any convenient way. For example, send it via Viber, Telegram, or any social network.
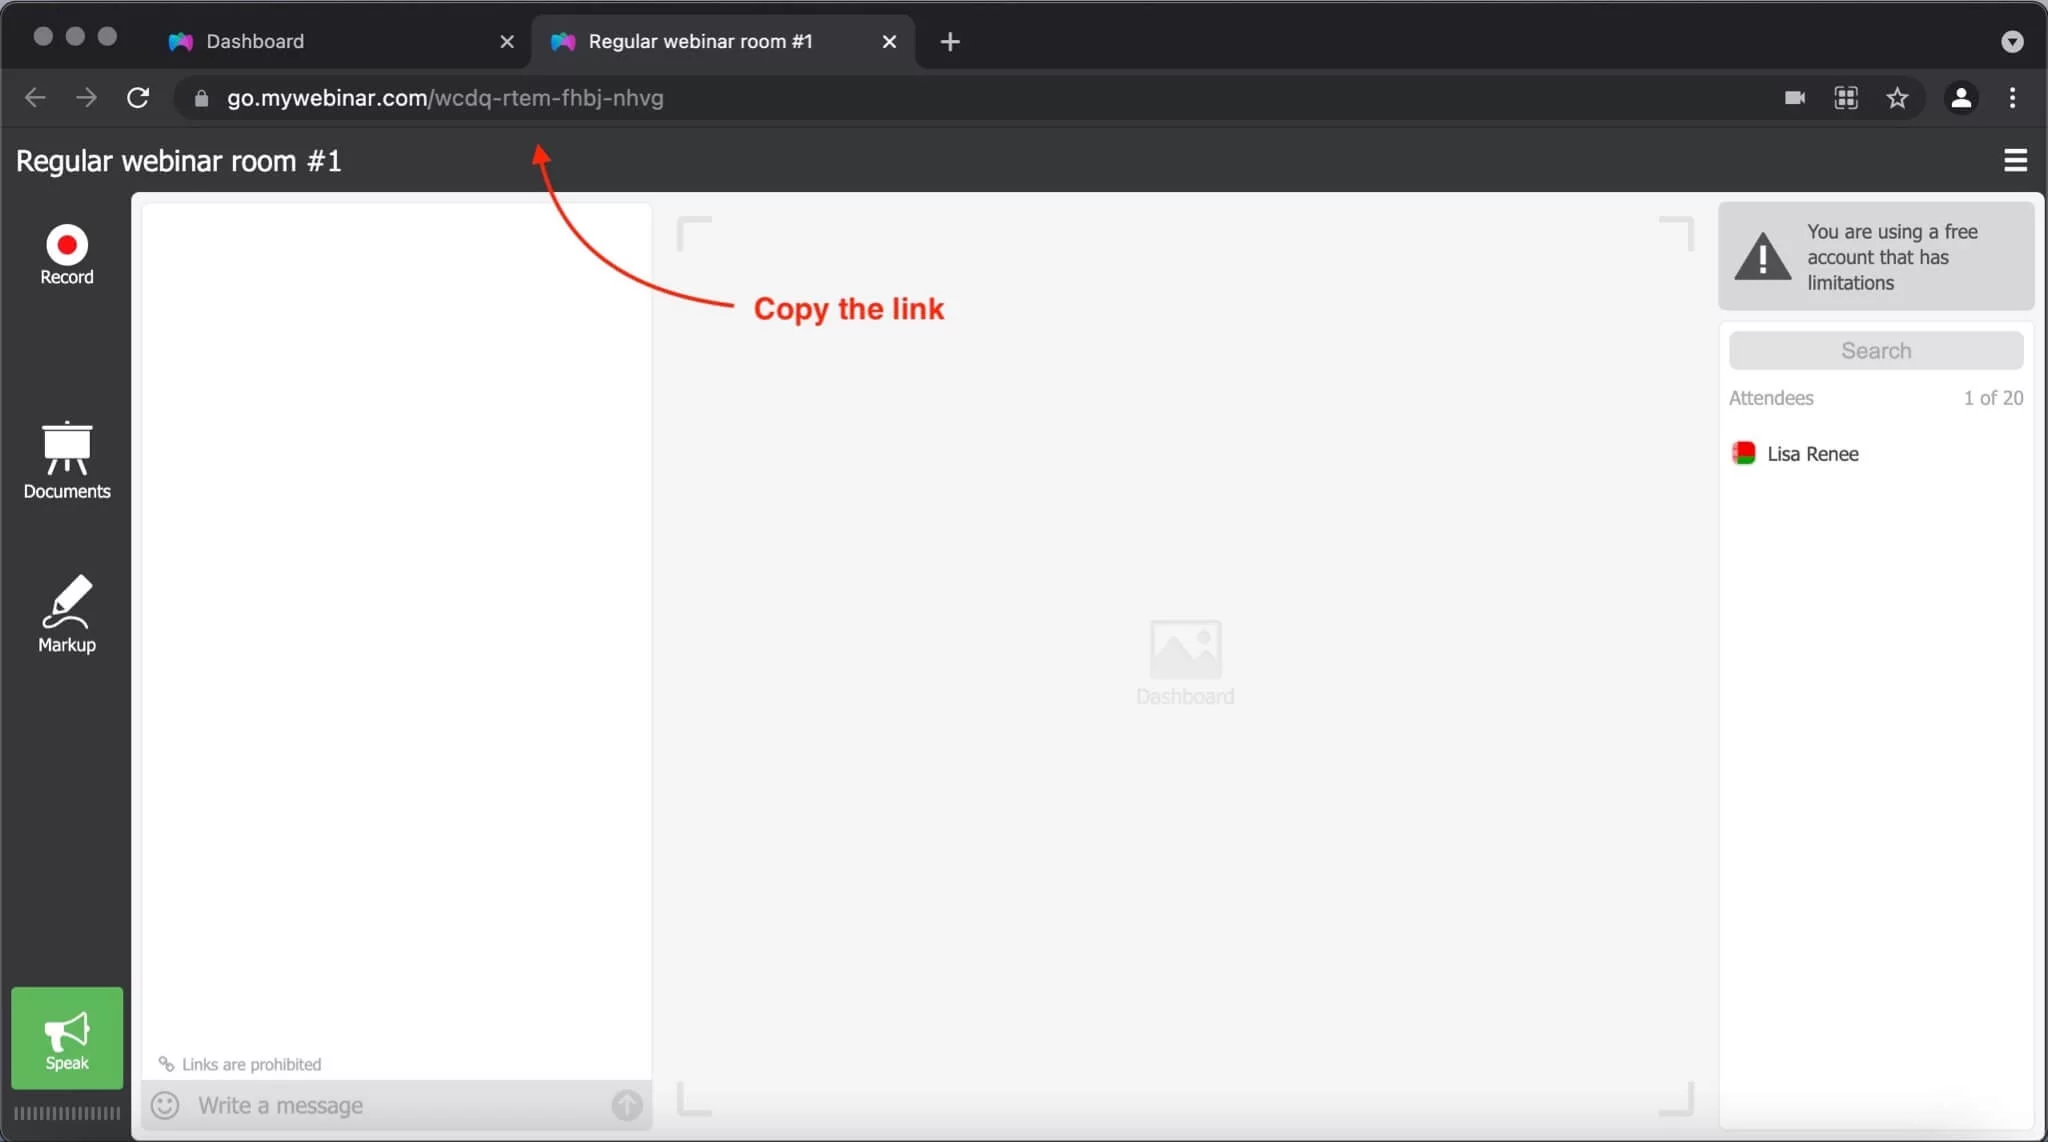
Elapsed time: 2 seconds.
With just six steps, a few clicks, and typed words, you’ve successfully begun your webinar in just 30 seconds on MyOwnConference.
Final thoughts on impromptu webinar
In conclusion, when you enter the webinar room within minutes, you move from planning to presenting and that moment of going live becomes your signal to begin instead of an obstacle. With the platform designed for quick access, you can stay focused on what truly matters which means connecting with your audience, sharing your ideas, and delivering real value. As you keep improving your sessions, let every one of them, no matter how unplanned, be a chance to build stronger connections, polish your content, and expand your reach with an impromptu webinar.
FAQ
What is meant by “go live in 30 seconds” on this platform?
It means you can register, open your account, enter the webinar room and start broadcasting in approximately thirty seconds. Just a few clicks and you’re live.
What are the steps to start a webinar so quickly?
First you click “Register” on the website, then enter your details and click “Done”, next go to your email and click the sign-in link, then open the room and click “Speak” to activate your camera and mic, and finally copy and share the link for attendees.
Do you need to schedule the webinar in advance for this quick start?
No, you can start an impromptu webinar immediately rather than scheduling ahead. This quick start workflow is designed for spontaneous or unplanned broadcasts.
What kind of browser permissions are required to go live?
You must allow the browser access to your camera and microphone so that when you click “Speak” you can start broadcasting. The platform supports major browsers like Chrome and Safari.
What happens after you start broadcasting? How do participants join?
Once you are in the webinar room and broadcasting you copy the webinar link from the address bar and share it via messenger, social network or any other convenient channel so participants can join.