
Going on air (the Speak button and browser permissions)
Entering the webinar room does not put you on air, and that is deliberate. You get in first, look at your camera and your notes, and go live when you are ready. Until you do, nobody sees or hears you, which is why a room that is working perfectly can feel like one where nothing works at all.
The broadcast starts with "Speak", the large button at the foot of the left rail. It carries a microphone and it is the only coloured control in that corner. It turns green once the room is ready, stays grey for the moment it is still connecting, and goes red while you are live.
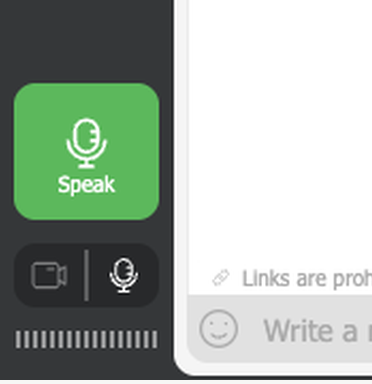
Click it, and your browser asks for permission to use your camera and microphone. The wording of that request is the only thing that really changes from one browser to the next.
Getting in comes first, and where you start depends on what you created. For a permanent room, running a public event in an instant meeting room covers it. For a dated event, starting a scheduled webinar does.
The request comes from www.mywebinar.com, the address the room itself runs on, so put it on the allow list if your company filters web traffic. Otherwise the prompt can be swallowed before you ever see it, and technical requirements lists the rest of the domains worth allowing at the same time.
Check the address in the prompt before you accept it. If you opened the room through a mirror link, it names go.myownconference.com or go.myownconference.co instead. A permission request that names anything else is not ours.
Google Chrome
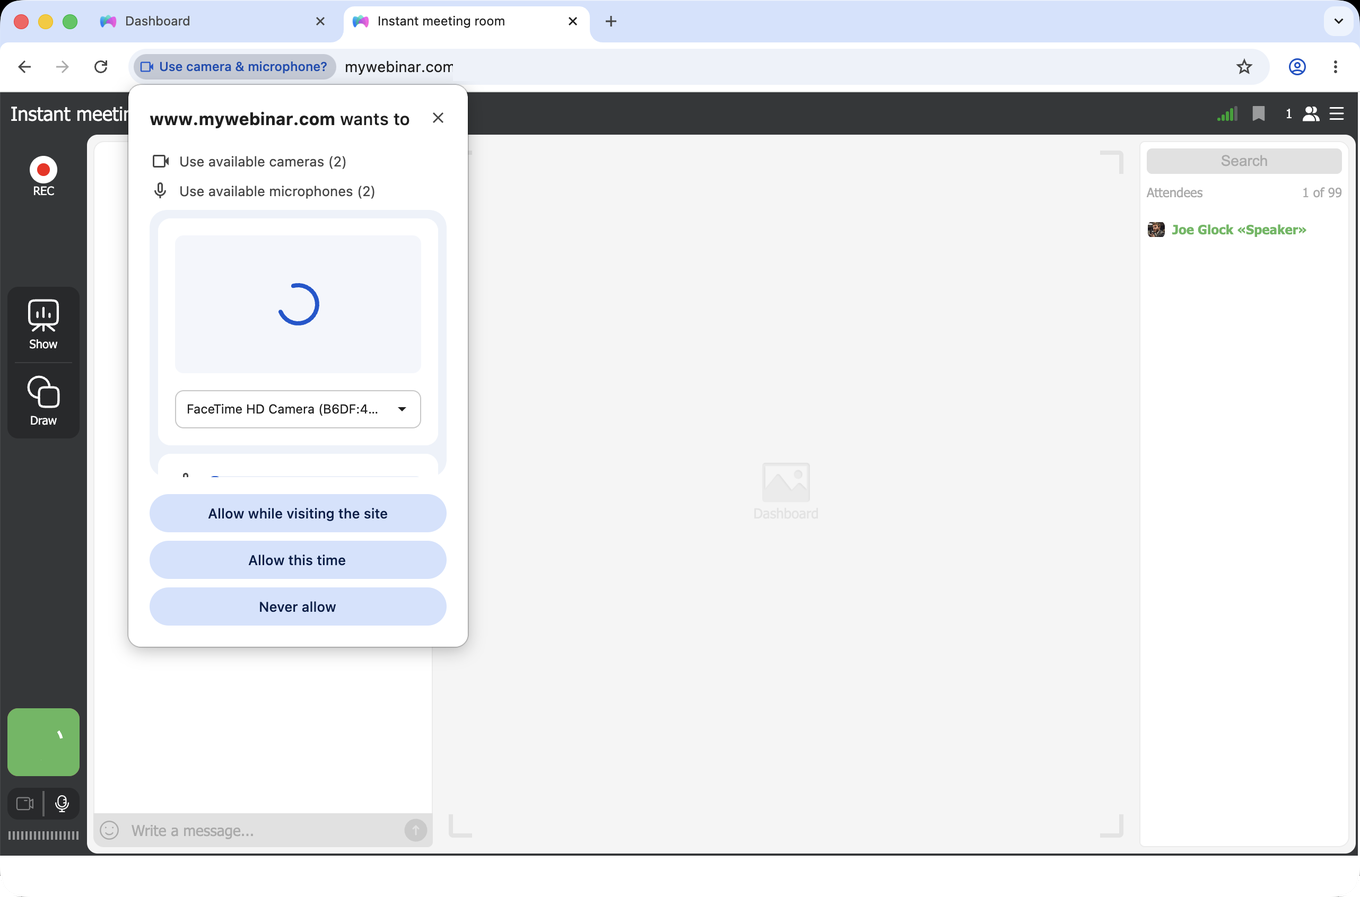
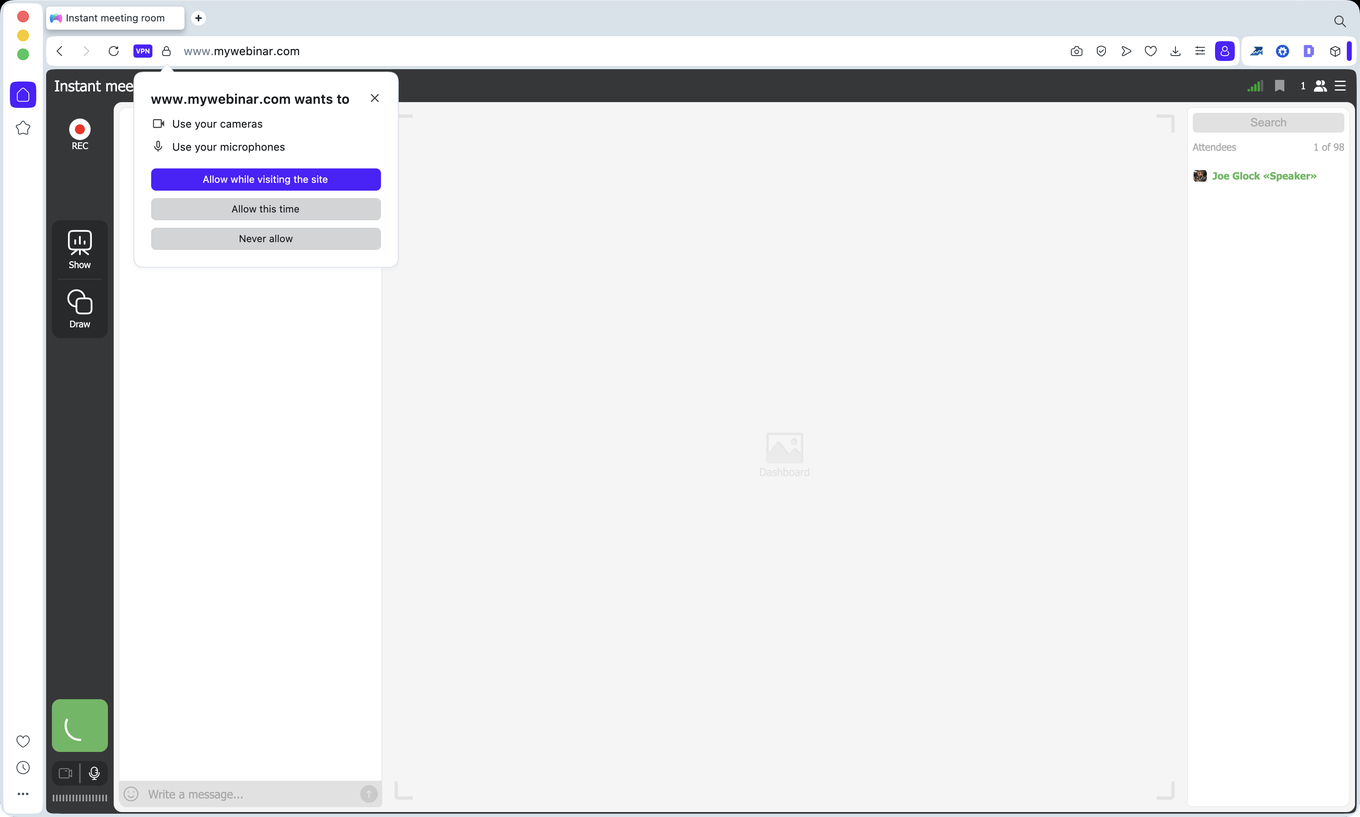
Chrome asks to use the cameras and microphones it can see, and offers a preview so you can confirm the right one is selected. "Allow while visiting the site" is the option to pick if you present regularly, since it saves you the prompt next time.
Mozilla Firefox
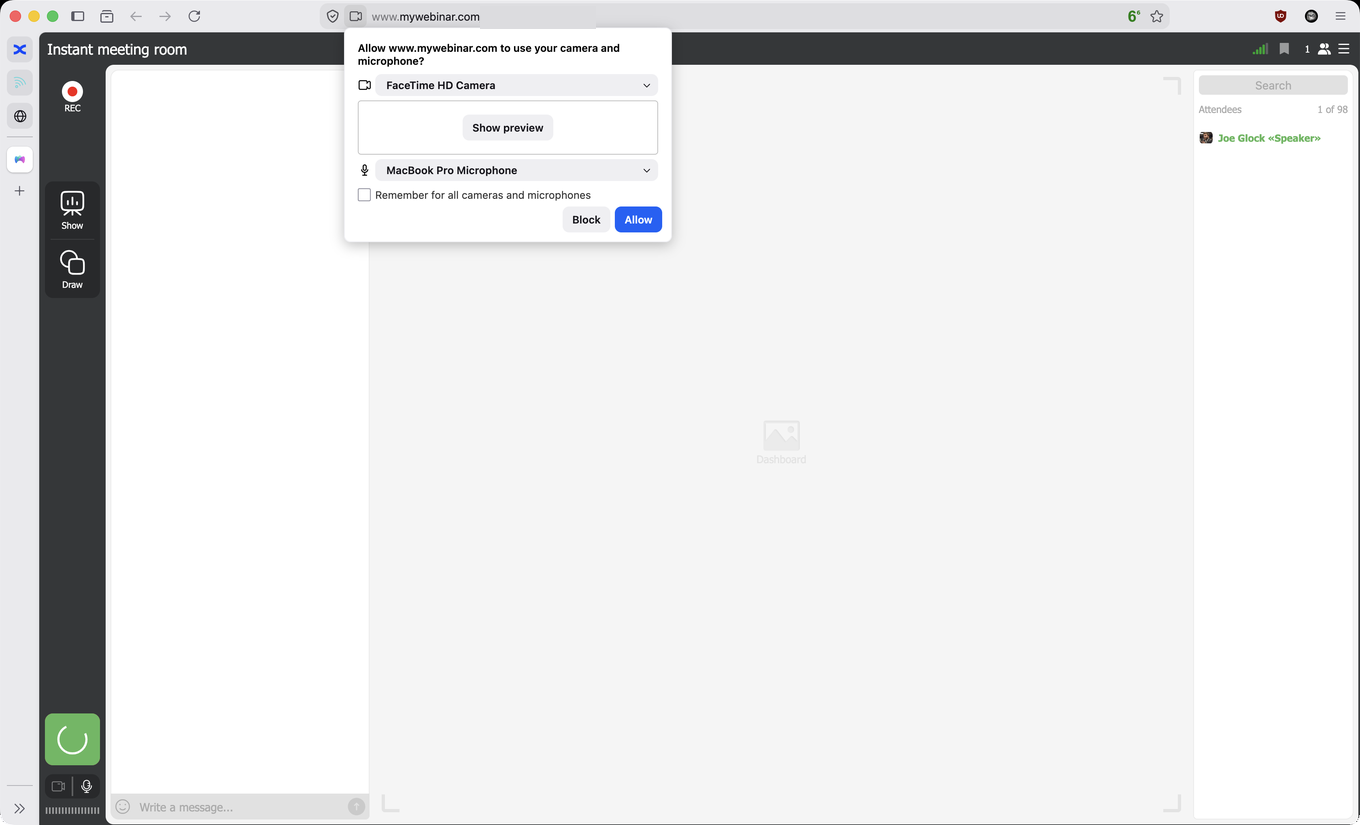
Firefox puts the camera and the microphone in two dropdowns, so with several devices connected you choose the pair you want before allowing. "Remember for all cameras and microphones" makes the choice stick.
Apple Safari
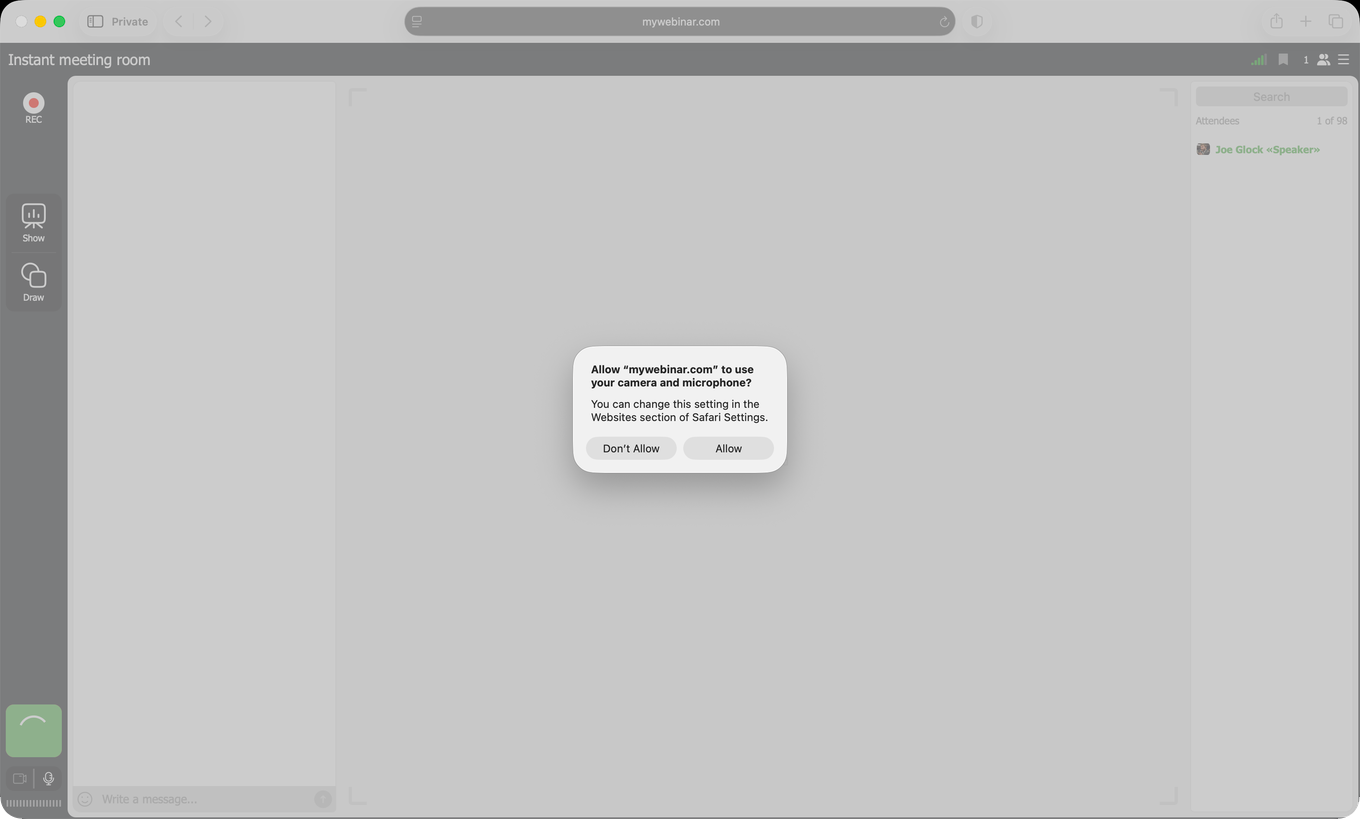
Safari keeps it short and asks about both devices at once. It also remembers the answer per site, which is why a presenter who allowed it once walks straight on air the next time.
Opera
Opera offers the same three choices as Chrome, since it is built on the same engine. "Allow while visiting the site" is again the practical one for a regular presenter.
Brave
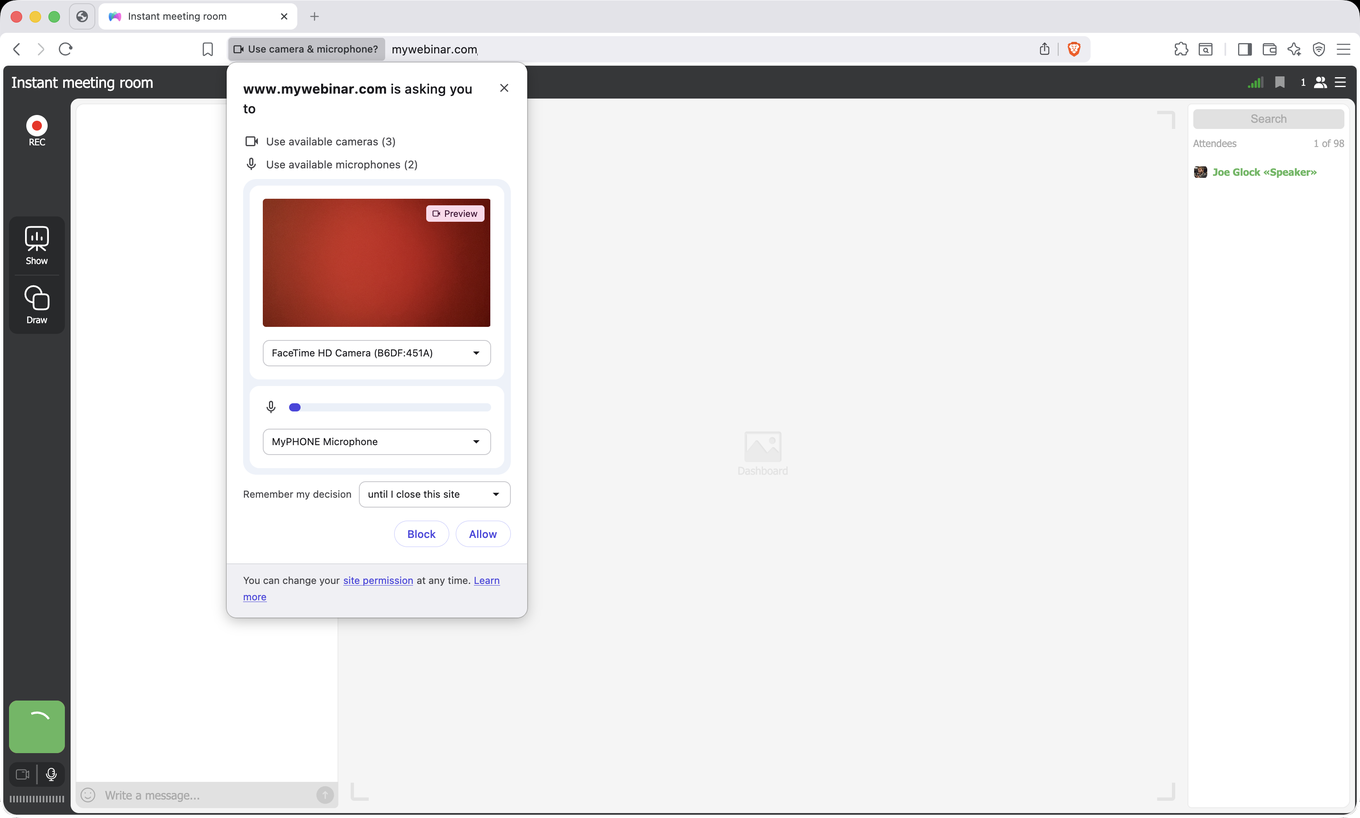
Brave shows a preview and lets you decide how long the permission lasts, from a single visit to until you close the site.
DuckDuckGo
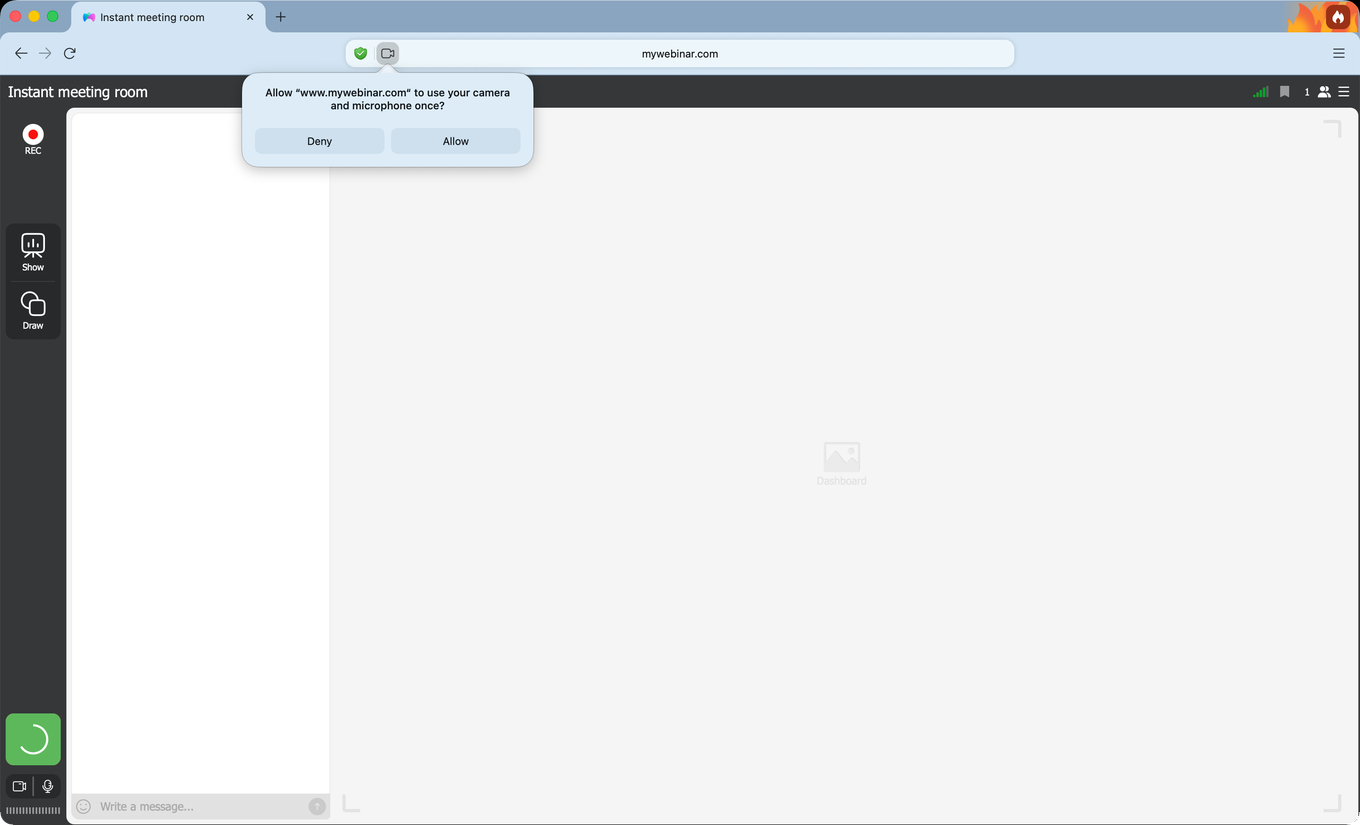
The DuckDuckGo browser asks for both devices in one sentence, and the word worth noticing is "once". Allow here covers this visit rather than saving the answer, so expect the prompt again next time.
Microsoft Edge
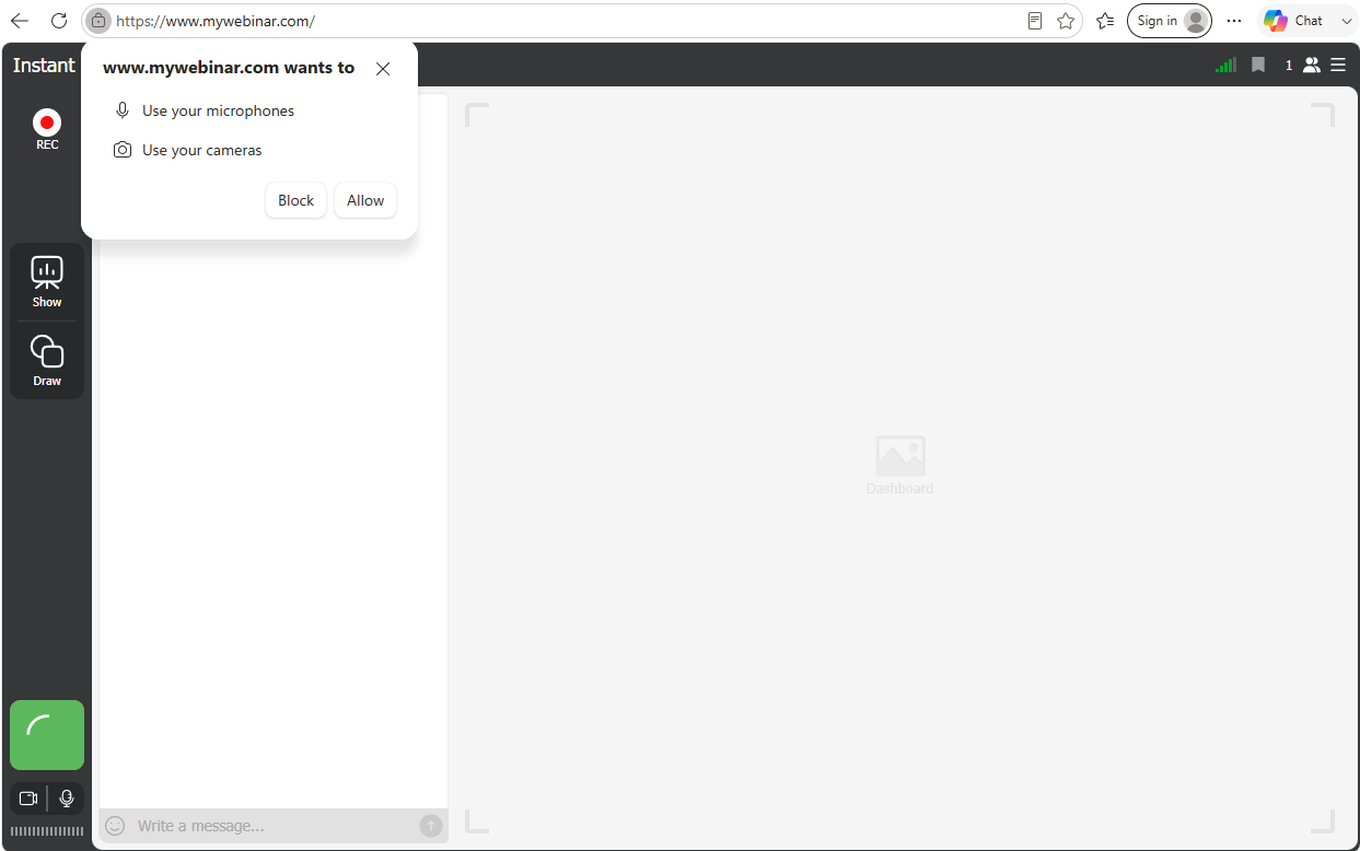
Edge runs on the same engine as Chrome but asks more briefly. It names the two devices and offers Block or Allow, without the choice of how long the permission should last that Chrome and Opera give you.
If you blocked access earlier
A browser remembers a refusal, so the prompt never comes back on its own and the room simply reports that the device is unavailable. Clearing it takes a few seconds and the route is much the same everywhere.
In Chrome, Edge, Opera and Brave, click the camera icon at the right of the address bar, switch the site back to allowed and reload the tab.
In Firefox, click the camera and microphone icons in the address bar and remove the "Blocked Temporarily" status under Permissions.
In Safari, open Settings, which older versions of macOS call Preferences, and go to the Websites tab. Select Camera in the left pane and set www.mywebinar.com to Allow, repeat the same under Microphone, then restart Safari.
While you are on air
Once you are live you can expand the video window, turn the camera on and off, mute and unmute the microphone, and end your presentation.
To change which camera or microphone you are using, open the room menu with the icon in the top right corner and expand "Devices settings".
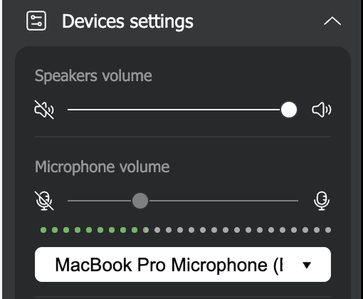
The microphone control is the one to reach for when you want to go quiet for a moment and then come back to speaking. The microphone slider itself is set for you while the browser carries your sound, which is deliberate and which what to do if there is an echo during a webinar explains, along with the case where it is not.
One habit is worth building while you are live. Leave the room in the tab you are looking at, because browsers put background tabs to sleep to save memory and a sleeping tab can take your connection with it. Disabling browser tab sleep mode sets the exception up once, in whichever browser you use, so switching tabs stops being a risk.
When the camera or microphone will not start
Usually it is one of two things.
Your browser has blocked access, and the room says so plainly rather than leaving you guessing. This particular dialog appears for that reason alone, so seeing it rules out everything else on this page.
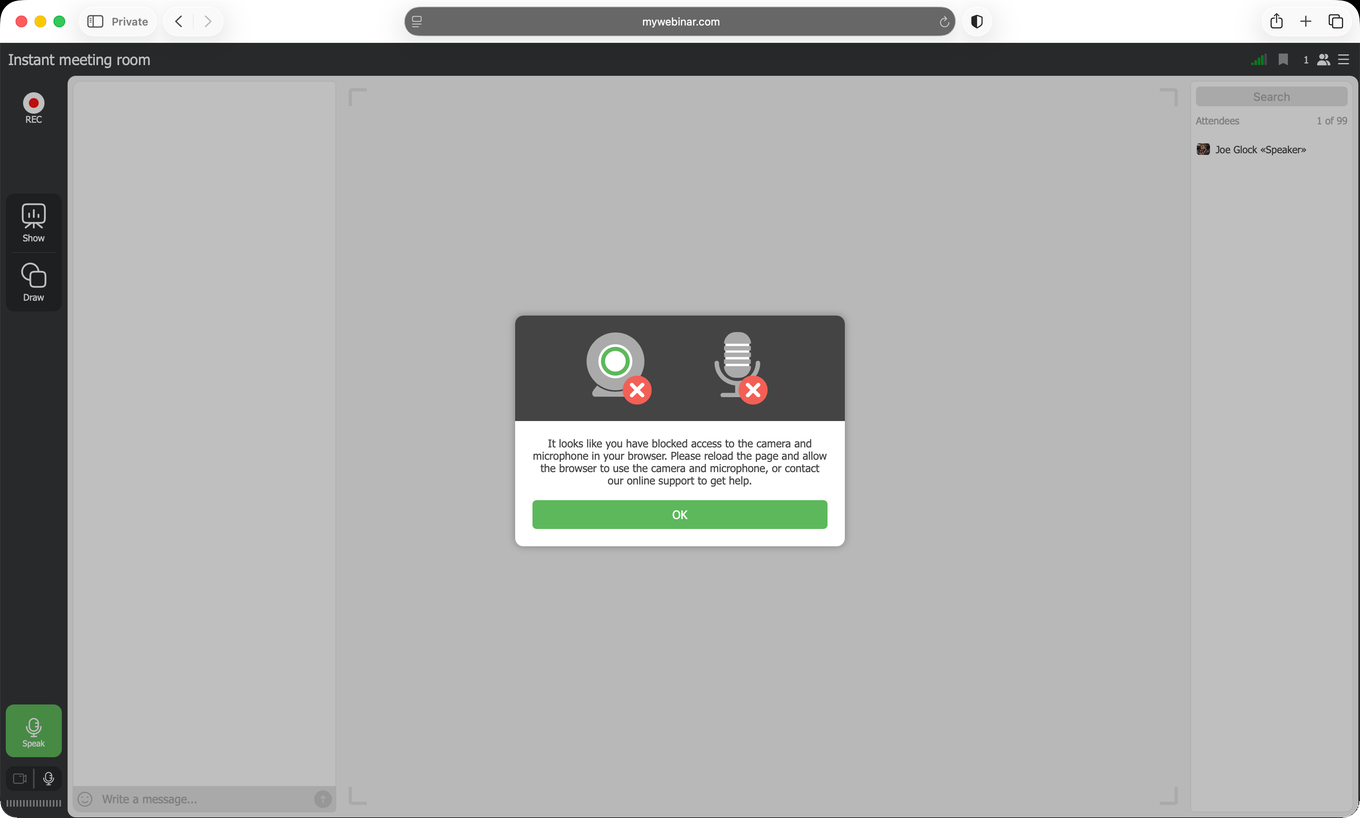
Reload the page and accept the prompt when it returns. If it does not return, the refusal was remembered, so follow the steps above to clear it first.
The other common cause is another application holding the device. Messengers such as Viber, WhatsApp and Messenger keep the camera and microphone occupied while they run. Close them and restart the webinar room. Restarting the computer helps in the stubborn cases.
If neither applies, work through this list:
- Check that the camera and the microphone are properly connected and working. Setting up and using an external USB camera covers the extra steps a plug-in camera needs.
- Refresh the browser tab, or restart the computer.
- Clear the browser cache.
- Confirm that the site holds the permissions it needs.
- On a Mac, check that macOS itself lets your browser use the camera and microphone, which how to allow camera and microphone access on a Mac walks through, Safari included.
- Update the browser to the latest version, or try a different browser.
You can check all of this before the event rather than during it with our connection tester.
Ending the broadcast
The green "Speak" button becomes a red "Finish" button once you are live, in the same place at the bottom left.
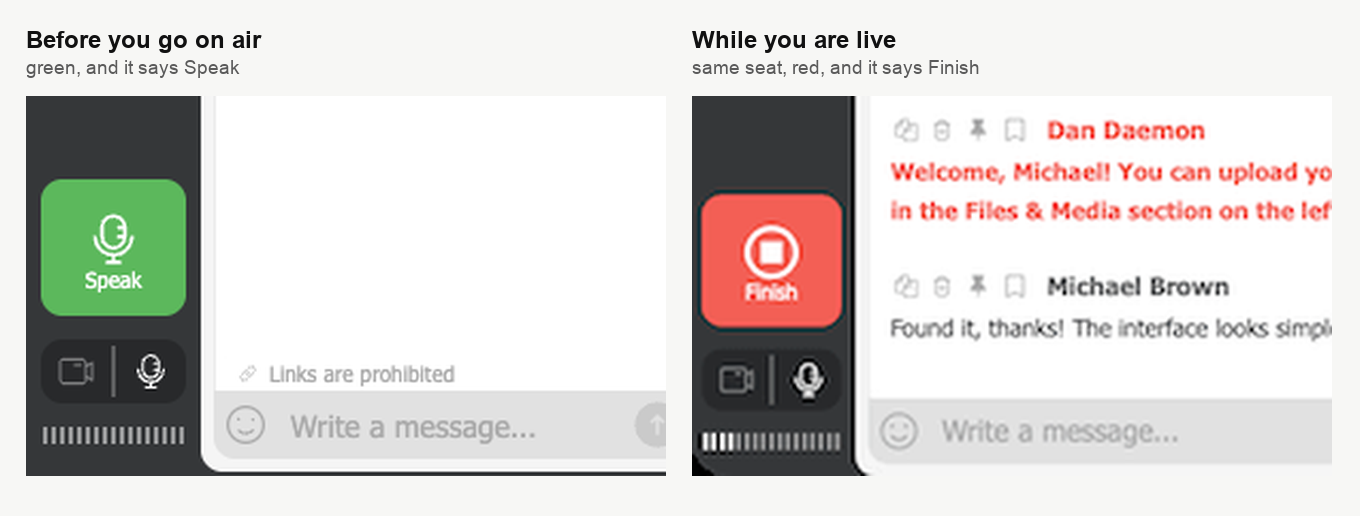
Click it and you are off air, with the room still open around you.
When the session itself is over, leave through "Quit" in the room menu rather than closing the tab on it.
Still not on air
Open the online chat and our support team will work through it with you.
Frequently asked questions
How do I know the permission prompt is really from the webinar room?
It should name www.mywebinar.com, the address the room itself runs on. If you opened the room through a mirror link, the prompt names go.myownconference.com or go.myownconference.co instead. Check that address before you accept it, because a permission request that names anything else is not ours. The wording around it changes from one browser to the next, but the address does not.
Will my browser ask for the camera every single time?
That depends on the browser. In Chrome and Opera, "Allow while visiting the site" saves you the prompt next time, Firefox has "Remember for all cameras and microphones", and Safari remembers the answer per site on its own. The DuckDuckGo browser allows for that visit rather than saving the answer, so expect the prompt again, and Edge offers only "Block" and "Allow" without the choice of how long the permission should last.
I clicked "Speak" and no prompt appeared at all?
Two things cause that. Either you refused once before, since a browser remembers a refusal and the room then simply reports that the device is unavailable, which you clear from the camera icon at the right of the address bar before reloading the tab. Or your company filters web traffic and the prompt was swallowed before you ever saw it, in which case www.mywebinar.com needs to be on the allow list, and technical requirements lists the rest of the domains worth allowing at the same time.
Does clicking "Finish" end the webinar for everyone?
No. It takes you off air and the room stays open around you. If you only want to go quiet for a moment and then come back to speaking, mute the microphone instead. When the session itself is over, leave through "Quit" in the room menu rather than closing the tab on it.
Why can I not move the microphone slider?
That is deliberate. The microphone slider is set for you while the browser carries your sound, whatever computer you are on, and what to do if there is an echo during a webinar explains why, along with the case where it is not. You reach the slider through the room menu in the top right corner, under "Devices settings", which is also where you change which camera or microphone you are using.
