
Webinar room branding
Every scheduled webinar and every permanent room can be dressed in your own colours, carry your logo and send people to a page of your choosing when it ends. All of it sits on one tab, and none of it needs a designer.
Where the settings live
Open the settings of a webinar or a room and stay on the "General" tab. Scroll past the chat and attendee options and you reach the branding block, in this order: "Colors", then "Logo (38×38 pixels)", then "Banner (380×38 pixels)", then "Thank you page".
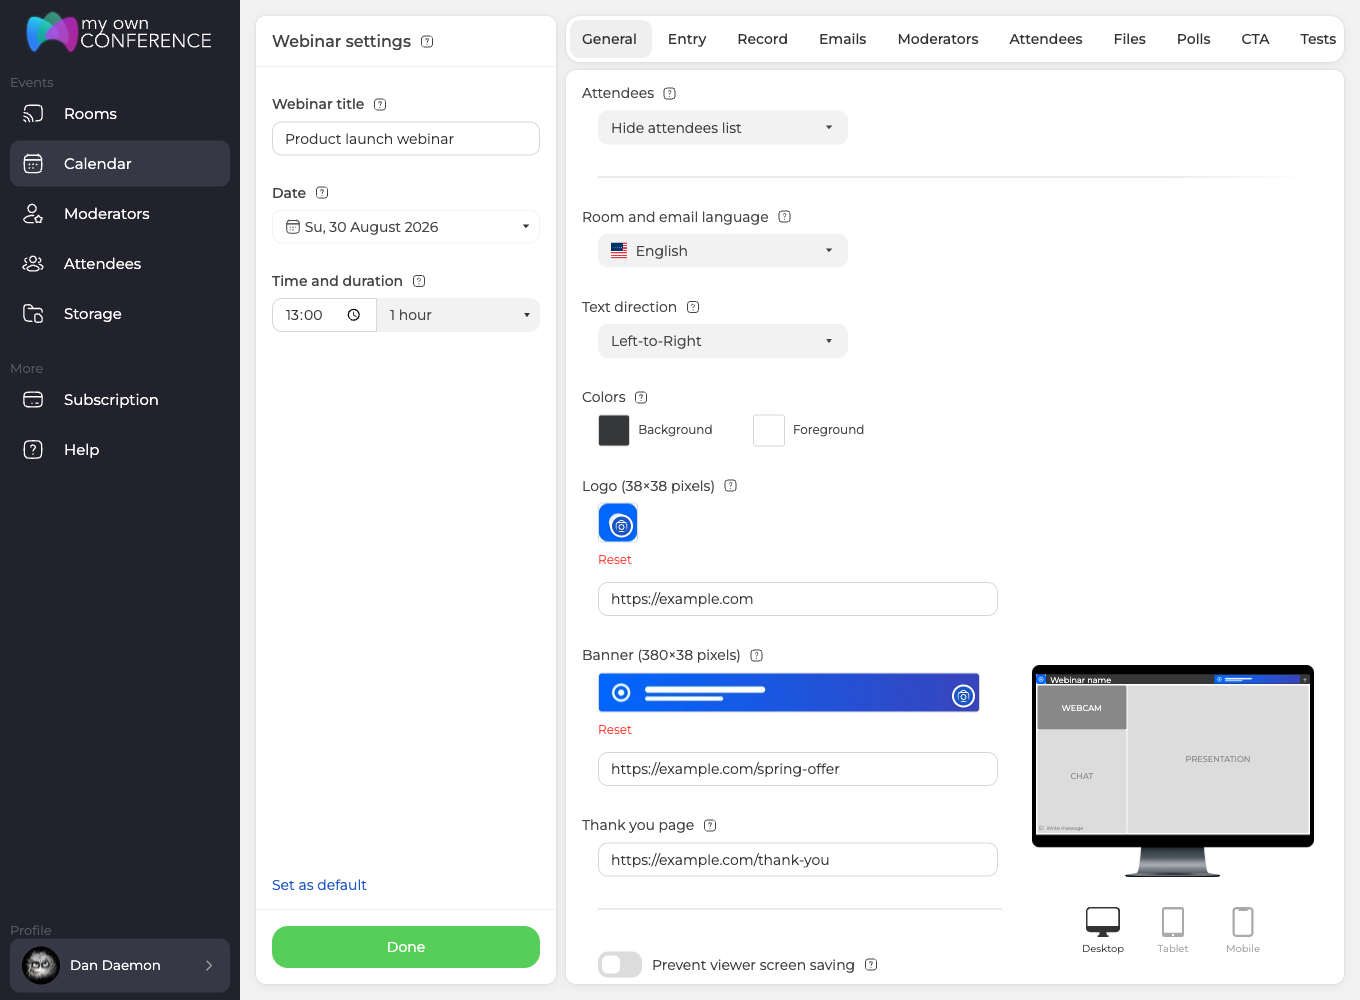
The same block appears in the walkthroughs for planning a webinar and setting one up from scratch, where you can see it in a screenshot alongside the rest of the tab. Every plan carries the block, the free Starter plan included, so there is nothing to upgrade for before you dress a room in your own colours.
Colours
"Colors" gives you two pickers. "Background" paints the room behind everything, and "Foreground" sets the text that sits on top of it. Out of the box they are a dark grey and white. Change either one and a "Reset" button appears beside them, putting the pair back to the originals, so there is no need to write the starting values down before you experiment.
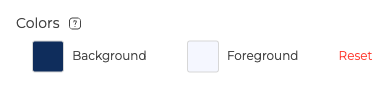
Pick the pair together rather than one at a time. A background that looks right on its own can leave the text unreadable, and the foreground colour is the only thing standing between your audience and a grey-on-grey chat.
Logo and banner
Two images, two different jobs.
"Logo (38×38 pixels)" is the small square mark. "Banner (380×38 pixels)" is the wide strip. Both take JPG, GIF and PNG files, and once a picture is in place a "Reset" link appears under it to clear the upload.
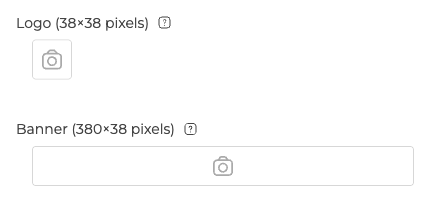
Upload a picture and a text field appears underneath it, and this is the part people miss, because the field is simply not there until the image is. The logo field reads "Link when clicking on logo" and the banner field reads "Link when clicking on the banner". Fill either in and the image becomes clickable during the event, which turns the banner into a quiet route to your site, your offer or your next registration page. The field holds a normal web address and stops at 255 characters.
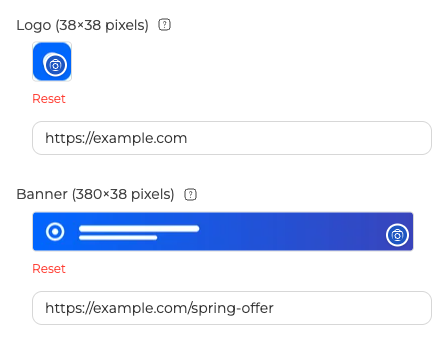
Both sizes are exact. An image of other proportions will be squeezed into the space rather than cropped politely, so prepare the file at 38 by 38 or 380 by 38 before uploading it.
Why you cannot see your own logo
The logo and the banner are shown to attendees only. As the host you will not find them anywhere in your own view of the room, and nothing is broken when they fail to appear.
The one place you can check them without leaving the panel is the small preview beside the branding block, which draws both onto a mock-up of the room as your colours change.
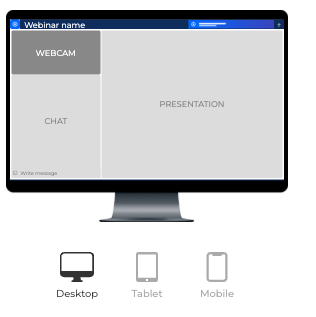
To check your work, open the room through the general guest link in a private window, or in a different browser, and look at it the way your audience does. The attendee guide covers what that view holds.
The background of your registration page
The room interior takes colours rather than a picture, but the page people meet before the room does take one. It sits on the "Entry" tab, in a row called "Background", and the panel asks for 1920 by 1080 pixels.
Upload a JPG, GIF or PNG and it fills the registration page behind the sign-up form. Prefer something plainer? The upload box and two colour pickers, "Background" and "Foreground", sit side by side all the time, and the "Left side solid color" switch decides which of them the page uses. Turn it on and the left side becomes the solid "Background" colour instead of the picture. Turn it off and that picker greys out, while "Foreground" stays available either way.
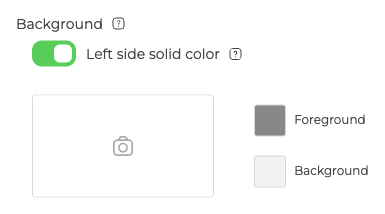
Keep the important part of the image away from the centre. The sign-up form sits on top of it, and a face or a logo directly behind the fields disappears under them.
Where people land when the webinar ends
"Thank you page" takes a web address and the field says as much, "Link to the page after the webinar". When the event finishes, everyone still in the room goes there.
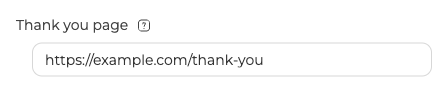
It also catches the people who leave early, which is what makes it more useful than the name suggests. A feedback form, a discount, the recording sign-up, the next event in the series, all of them work better here than in an email sent hours later.
Two things are worth knowing. The field belongs to scheduled webinars, so a permanent room does not have one. And it is a different field from "Info page", which lives on the "Entry" tab and works before the event rather than after it. The page after registration sets the two side by side, and UTM tags covers tagging the address you put here.
The address your rooms open on
By default a room opens on www.mywebinar.com. "Custom domain" in your "Profile" replaces that with a name of your own choosing.
It works by keyword rather than by connecting a domain you already own. You type a word that stands for your business, up to 32 characters, and pick one of the platform addresses beside it. .mywebinar.com heads a list of eleven, and the shortest addresses sit at the bottom of it. A room then opens on something like acme.mywebinar.com instead of the standard address, and the rest of the link keeps its usual shape.
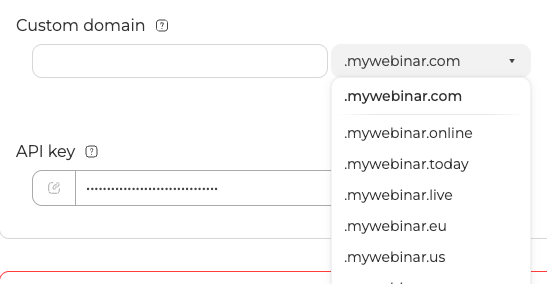
Names are first come, first served across the whole platform. Type one that somebody already holds and the field answers "Domain is already taken", so pick another.
The feature is not on every plan. The free Starter plan does not include it, and neither does the day plan. Choosing a plan lists what each one covers.
Frequently asked questions
Where do I find the branding settings?
On the "General" tab of a scheduled webinar or a permanent room, below the chat and attendee options. The block runs "Colors", "Logo (38×38 pixels)", "Banner (380×38 pixels)" and, for scheduled webinars, "Thank you page".
What size should my logo and banner be?
The logo is 38 by 38 pixels and the banner is 380 by 38. Both accept JPG, GIF and PNG. Prepare the file at the exact size, because an image of other proportions is fitted into the space rather than cropped.
I uploaded a logo but I cannot see it in the room. Is it broken?
No. The logo and the banner are shown to attendees only, never in the host view. Open the room through the guest link in a private window to see what your audience sees.
Can the logo or banner link somewhere?
Yes, once the image is uploaded. A field appears under it, "Link when clicking on logo" and "Link when clicking on the banner". Put a web address in it and the image becomes clickable during the event.
Can I put a background image behind my webinar room?
Behind the room itself, no. The room takes a background colour and a foreground colour, nothing more. A picture is possible one step earlier, on the registration page, through "Background" on the "Entry" tab at 1920 by 1080 pixels. And the background behind you on camera is a separate thing again, which virtual backgrounds on macOS covers.
Why is there no Thank you page field in my permanent room?
Because the field belongs to scheduled webinars. A permanent room has the colours, the logo and the banner, and nothing else from that block.
Can I use a domain I already own for my webinar rooms?
Not a domain of your own. "Custom domain" in your "Profile" lets you choose a keyword and one of our platform addresses, which gives you something like acme.mywebinar.com. The free Starter plan and the day plan do not include the feature at all.
